UNITY UI REMOTE INPUT

Written by Pierce McBride
Throughout many VR (virtual reality) games and experiences, it’s sometimes necessary to have the player interact with a UI (user interface). In Unity, these are commonly world-space canvases where the player usually has some type of laser pointer, or they can directly touch the UI with their virtual hands. Like me, you may have in the past wanted to implement a system and ran into the problem of how can we determine what UI elements the player is pointing at, and how can they interact with those elements? This article will be a bit technical and assumes some intermediate knowledge of C#. I’ll also say now that the code in this article is heavily based on the XR Interaction Toolkit provided by Unity. I’ll point out where I took code from that package as it comes up, but the intent is for this code to work entirely independently from any specific hardware. If you want to interact with world-space UI with a world-space pointer and you know a little C#, read on.
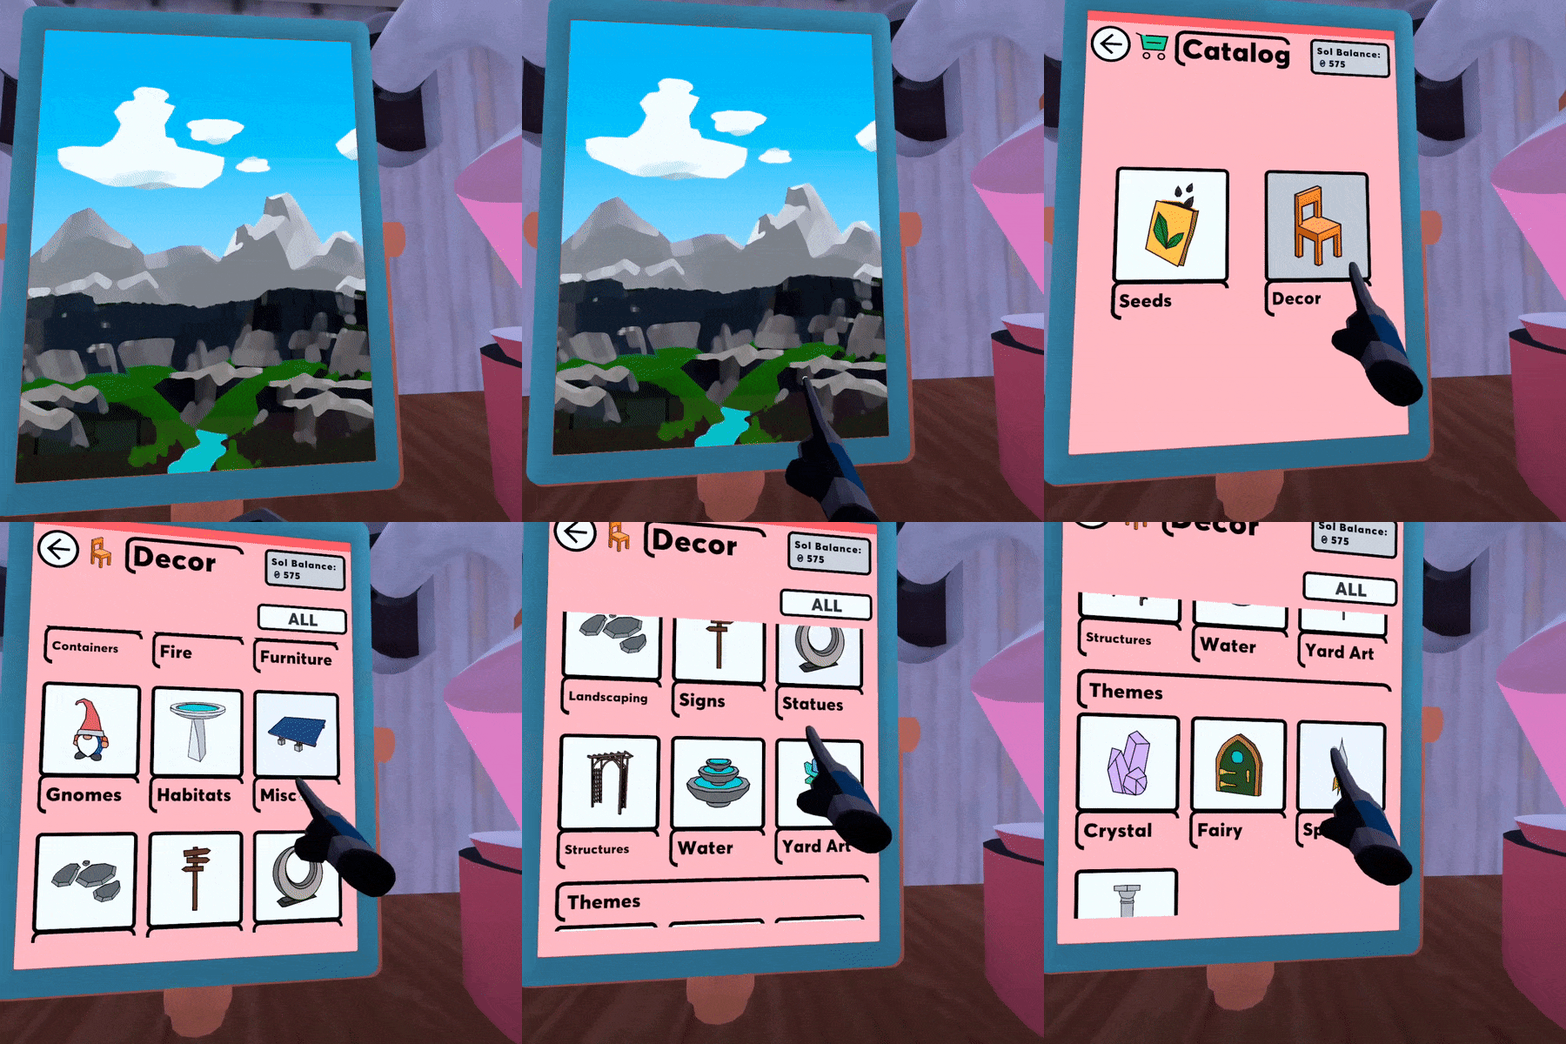

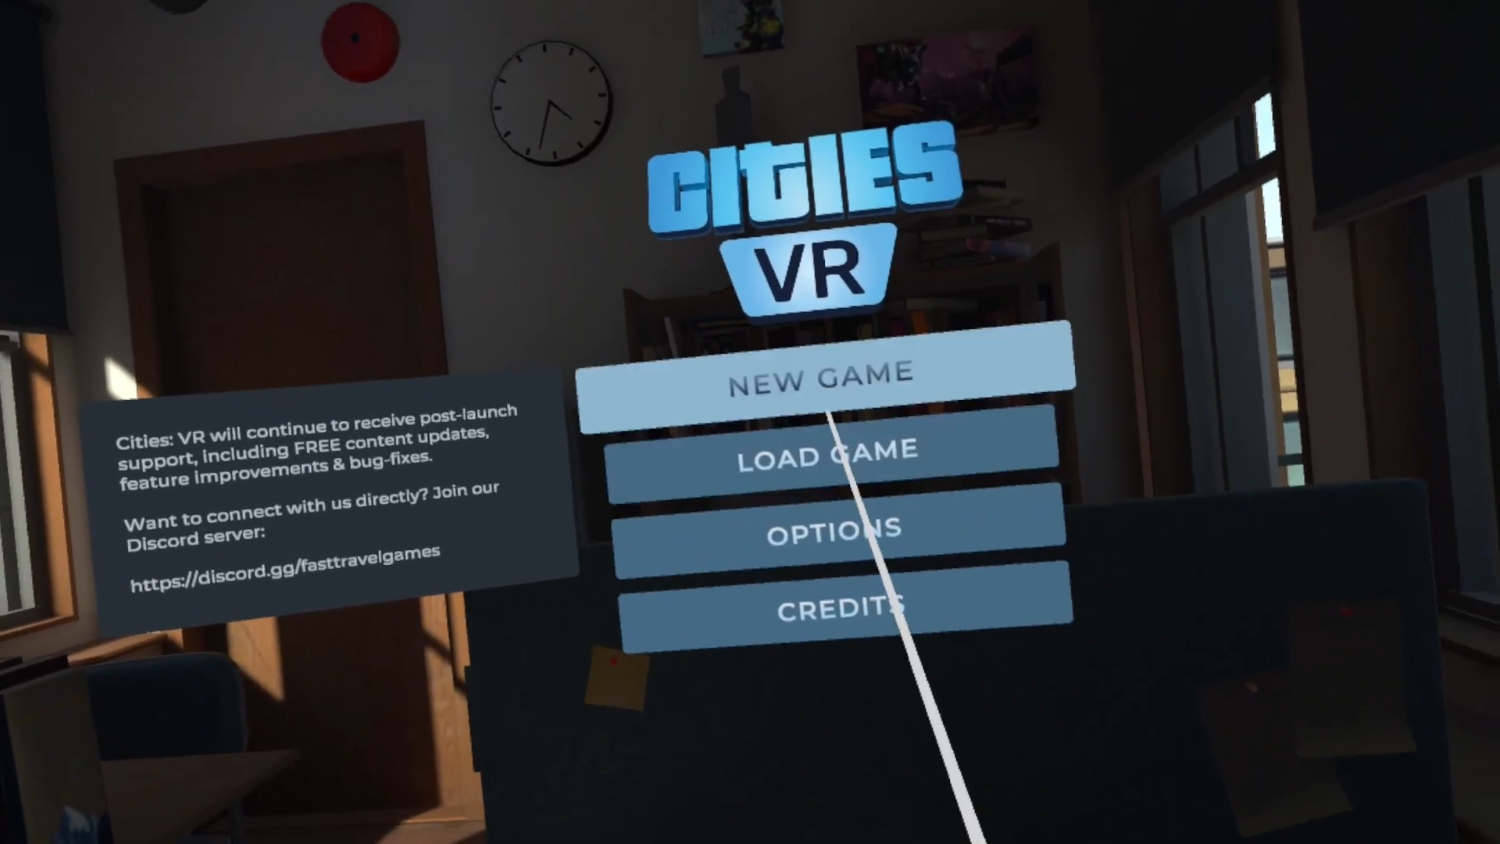

Figure 1 – Cities VR (Fast Travel Games, 2022)
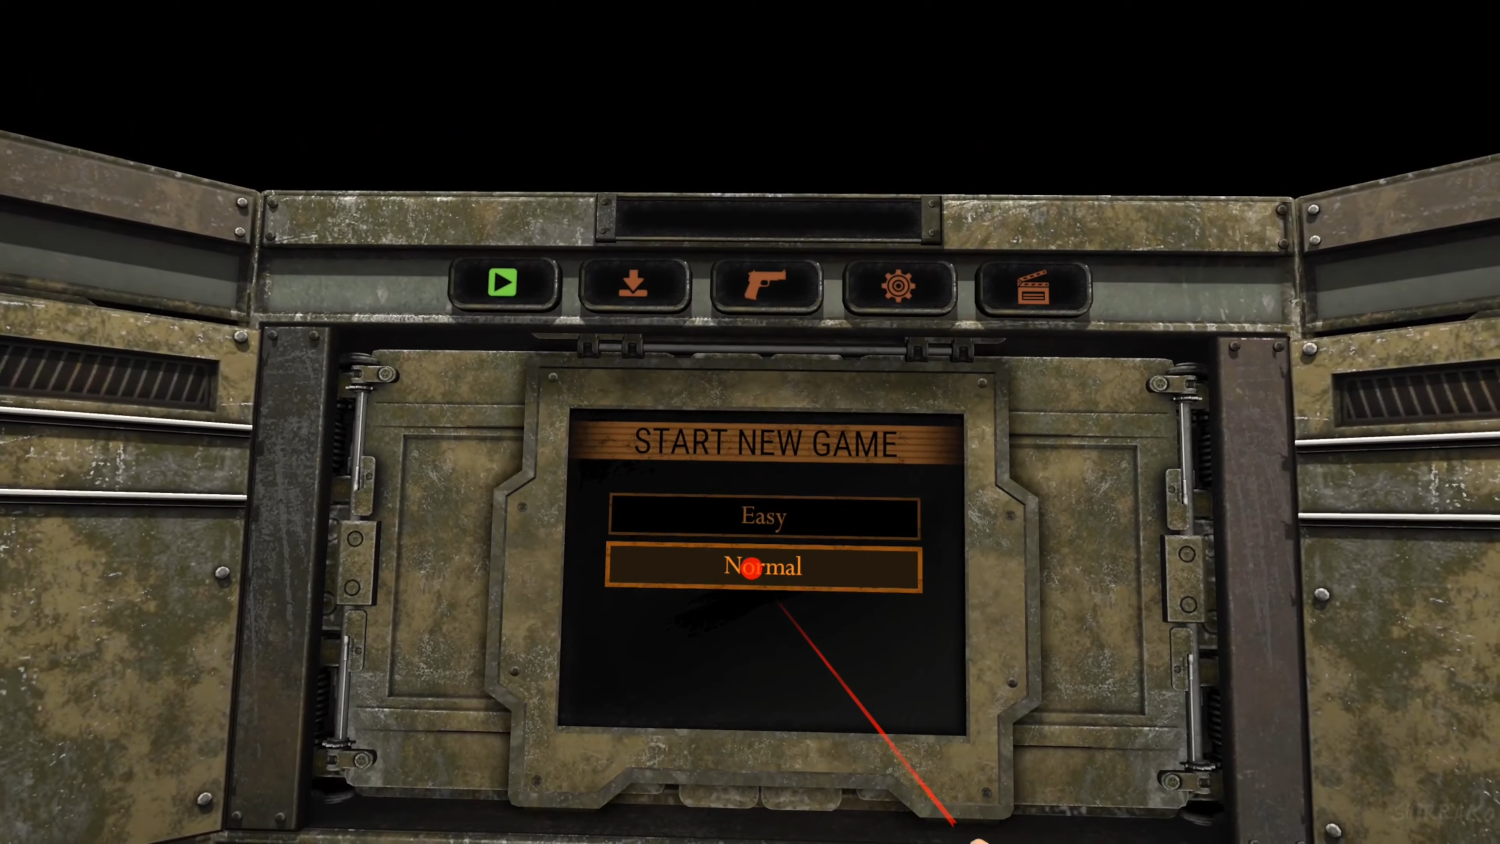

Figure 2 – Resident Evil 4 VR (Armature Studio, 2021)
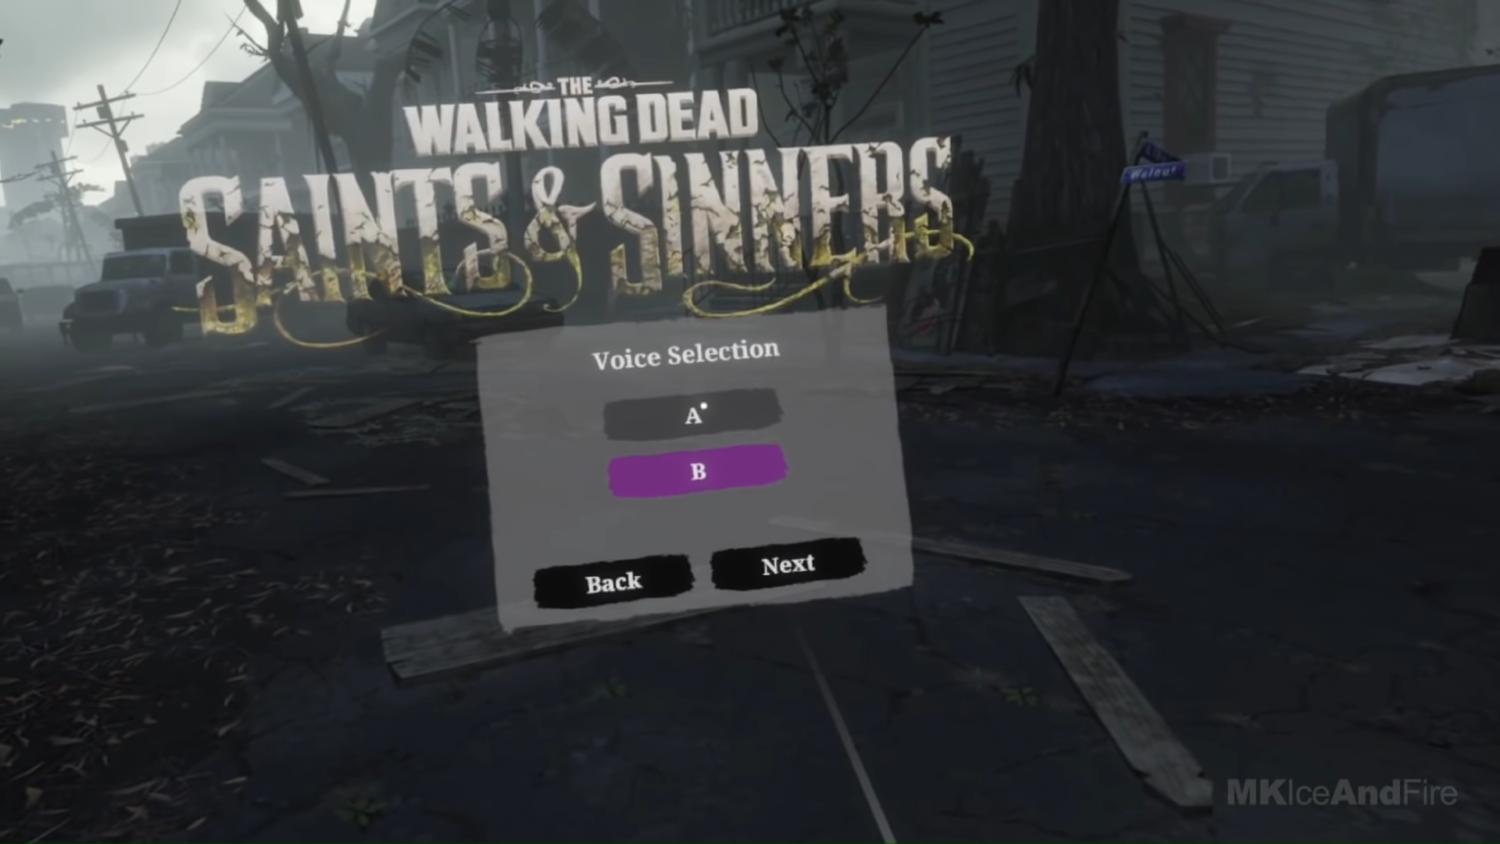

Figure 3 – The Walking Dead: Saints and Sinners (Skydance Interactive, 2020)
Physics.Raycast to find out what the player is pointing at,” and unfortunately, you would be wrong like I was. That’s a little glib, but in essence, there are two problems with that approach:
- Unity uses a combination of the EventSystem, GraphicsRaycasters, and screen positions to determine UI input, so by default,
Physics.Raycastswould entirely miss the UI with its default configuration.
- Even if you attach colliders and find the GameObject hit with a UI component, you’d need to replicate a lot of code that Unity provides for free. Pointers don’t just click whatever component they’re over; they can also drag and scroll.
In order to explain the former problem, it’s best to make sure we both understand how the existing EventSystem works. By default, when a player moves a pointer (like a mouse) around or presses some input that we have mapped to UI input, like select or move, Unity picks up this input from an InputModule component attached to the same GameObject as the EventSystem. This is, by default, either the Standalone Input Module or the Input System UI Input Module. Both work the same way, but they use different input APIs.
Each frame, the EventSystem calls a method in the input module named Process(). In the standard implementations, the input module gets a reference to all enabled BaseRaycaster components from a RaycasterManager static class. By default, these are GraphicsRaycastersfor most games. For each of those raycasters, the input module called Raycast(PointerEventData eventData, List<RaycastResult> resultAppendList) takes a PointerEventData object and a list to append new graphics to. The raycaster sorts all the graphic’s objects on its canvas by a hierarchy that lines up with a raycast from the pointer screen position to the canvas and appends those graphics objects to the list. The input module then takes that list and processes any events like selecting, dragging, etc.
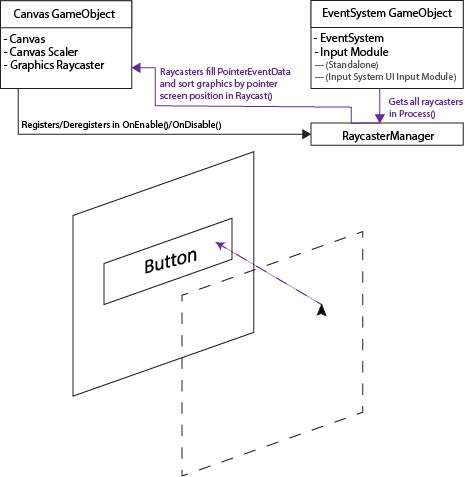

Figure 4 Event System Explanation Diagram
So how will these objects fit together? Instead of the process described above, we’ll replace the input module with a RemoteInputModule, each raycaster with a RemoteInputRaycaster, create a new kind of pointer data called RemoteInputPointerData, and finally make an interface for an IRemoteInputProvider. You’ll construct the interface yourself to fit the needs of your project, and its job will be to register itself with the input module, update a cached copy of RemoteInputPointerData each frame with its current transform position rotation, and set the Select state which we’ll use to actually select UI elements.
Each time the EventSystem calls Process() on our RemoteInputModule we’ll refer to a collection of registered IRemoteInputProvider and retrieve the corresponding RemoteInputEventData. InputProviderSet is a Hashset for fast lookup and no duplicate items. Lookup is a Dictionary so we can easily associate the providers with a cached event data. We cache event data so we can properly process UI interactions that take place over multiple frames, like drags. We also presume that each event data has already been updated with a new position, rotation, and selections state. Again, this is your job as a developer to define how that happens, but the RemoteInput package will come with one out of the box and a sample implementation that uses keyboard input that you can review.
Next, we need all the RemoteInputRaycaster. We could use Unity’s RaycastManager, iterate over it, and call Raycast() on all BaseRaycaster that we can cast to our inherited type, but to me, this sounds slightly less efficient than we want. We aren’t implementing any code that could support normal pointer events from a mouse or touch, so there’s not really any point in iterating over a list that could contain many elements we have to skip. Instead, I added a static HashSet to RemoteInputRaycaster that it registers to on Enable/Disable, just like the normal RaycastManager. But in this case, we can be sure each item is the right type, and we only iterate over items that we can use. We call Raycast(), which creates a new ray from the provider’s given position, rotation, and max length. It sorts all its canvas graphics components just like the regular raycaster.
Last, we take the list that all RemoteInputRaycaster have appended and process UI events. SelectDelta is more critical than SelectDown. Technically our input module only needs to know the delta state because most events are driven when select is pressed or released only. In fact, RemoteInputModule will set the value of SelectDelta to NoChange after it’s processed each event data. That way, it’s only ever pressed or released for exactly one provider.
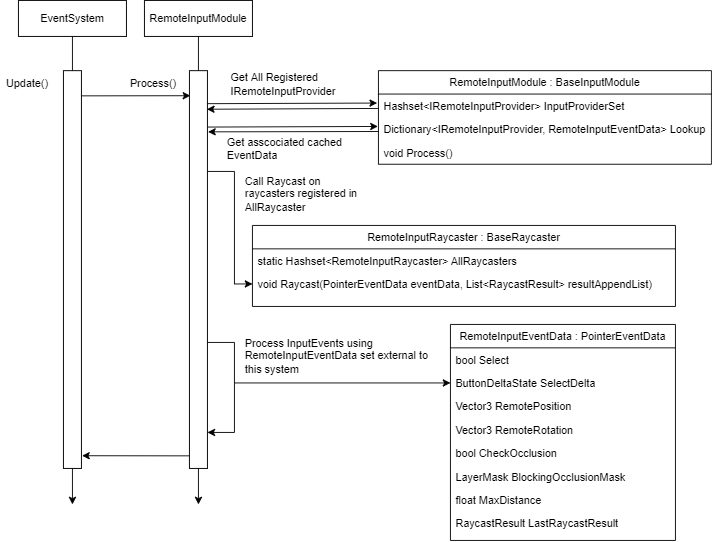

Figure 5 Remote Input Process Event Diagram
For you, the most important code to review would be our RemoteInputSender because you should only need to replace your input module and all GraphicsRaycasters for this to work. Thankfully, beyond implementing the required properties on the interface, the minimum setup is quite simple.
void OnEnable()
{
    ValidateProvider();
    ValidatePresentation();
}
void OnDisable()
{
     _cachedRemoteInputModule?.Deregister(this);
}
void Update()
{
     if (!ValidateProvider())
         return;
     _cachedEventData = _cachedRemoteInputModule.GetRemoteInputEventData(this);
     UpdateLine(_cachedEventData.LastRaycastResult);
     _cachedEventData.UpdateFromRemote();
     SelectDelta = ButtonDeltaState.NoChange;
     if (ValidatePresentation())
        UpdatePresentation();
}RemoteInputModule through the singleton reference EventSystem.current and registering ourselves with SetRegistration(this, true). Because we store registered providers in a Hashset, you can call this each time, and no duplicate entries will be added. Validating our presentation means updating the properties on our LineRenderer if it’s been set in the inspector.bool ValidatePresentation()
{
_lineRenderer = (_lineRenderer != null) ? _lineRenderer : GetComponent <linerenderer>();
if (_lineRenderer == null)
return false;
_lineRenderer.widthMultiplier = _lineWidth;
_lineRenderer.widthCurve = _widthCurve;
_lineRenderer.colorGradient = _gradient;
_lineRenderer.positionCount = _points.Length;
if (_cursorSprite != null &amp;&amp; _cursorMat == null)
{
_cursorMat = new Material(Shader.Find("Sprites/Default"));
_cursorMat.SetTexture("_MainTex", _cursorSprite.texture);
_cursorMat.renderQueue = 4000; // Set renderqueue so it renders above existing UI
// There's a known issue here where this cursor does NOT render above dropdown components.
// it's due to something in how dropdowns create a new canvas and manipulate its sorting order,
// and since we draw our cursor directly to the Graphics API we can't use CPU-based sorting layers
// if you have this issue, I recommend drawing the cursor as an unlit mesh instead
if (_cursorMesh == null)
_cursorMesh = Resources.GetBuiltinResource&lt;Mesh&gt;("Quad.fbx");
}
return true;
}RemoteInputSender will still work if no LineRenderer is added, but if you add one it’ll update it via the properties on the sender each frame. As an extra treat, I also added a simple “cursor” implementation that creates a cached quad, assigns a sprite material to it that uses a provided sprite and aligns it per-frame to the endpoint of the remote input ray. Take note of Resources.GetBuiltinResource("Quad.fbx") . This line gets the same file that’s used if you hit Create -> 3D Object -> Quad and works at runtime because it’s a part of the Resources API. Refer to this link for more details and other strings you can use to find the other built-in resources.
The two most important lines in Update are _cachedEventdata.UpdateFromRemote() and SelectDelta = ButtonDeltaState.NoChange. The first line will automatically set all properties in the event data object based on the properties implemented from the provider interface. As long as you call this method per frame and you write your properties correctly the provider will work. The second resets the SelectDelta property, which is used to determine if the remote provider just pressed or released select. The UI is built around input down and up events, so we need to mimic that behavior and make sure if SelectDelta changes in a frame, it only remains pressed or released for exactly 1 frame.
void UpdateLine(RaycastResult result)
{
_hasHit = result.isValid;
if (result.isValid)
{
_endpoint = result.worldPosition;
// result.worldNormal doesn't work properly, seems to always have the normal face directly up
// instead, we calculate the normal via the inverse of the forward vector on what we hit. Unity UI elements
// by default face away from the user, so we use that assumption to find the true "normal"
// If you use a curved UI canvas this likely will not work
_endpointNormal = result.gameObject.transform.forward * -1;
}
else
{
_endpoint = transform.position + transform.forward * _maxLength;
_endpointNormal = (transform.position - _endpoint).normalized;
}
_points[0] = transform.position;
_points[_points.Length - 1] = _endpoint;
}
void UpdatePresentation()
{
_lineRenderer.enabled = ValidRaycastHit;
if (!ValidRaycastHit)
return;
_lineRenderer.SetPositions(_points);
if (_cursorMesh != null &amp;amp;&amp;amp; _cursorMat != null)
{
_cursorMat.color = _gradient.Evaluate(1);
var matrix = Matrix4x4.TRS(_points[1], Quaternion.Euler(_endpointNormal), Vector3.one * _cursorScale);
Graphics.DrawMesh(_cursorMesh, matrix, _cursorMat, 0);
}
} RemoteInputSender. Because the LastRaycastResult is cached in the event data, we can use it to update our presentation efficiently. In most cases we likely just want to render a line from the provider to the UI that’s being used, so we use an array of Vector3 that’s of length 2 and update the first and last position with the provider position and raycast endpoint that the raycaster updated. There’s an issue currently where the world normal isn’t set properly, and since we use it with the cursor, we set it ourselves with the start and end point instead. When we update presentation, we set the positions of the line renderer, and we draw the cursor if we can. The cursor is drawn directly using the Graphics API, so if there’s no hit, it won’t be drawn and has no additional GameObject or component overhead.
I would encourage you to read the implementation in the repo, but at a high level, the diagrams and explanations above should be enough to use the system I’ve put together. I acknowledge that portions of the code use methods written for Unity’s XR Interaction Toolkit, but I prefer this implementation because it is more flexible and has no additional dependencies. I would expect most developers who need to solve this problem are working in XR, but if you need to use world space UIs and remotes in a non-XR game, this implementation would work just as well.
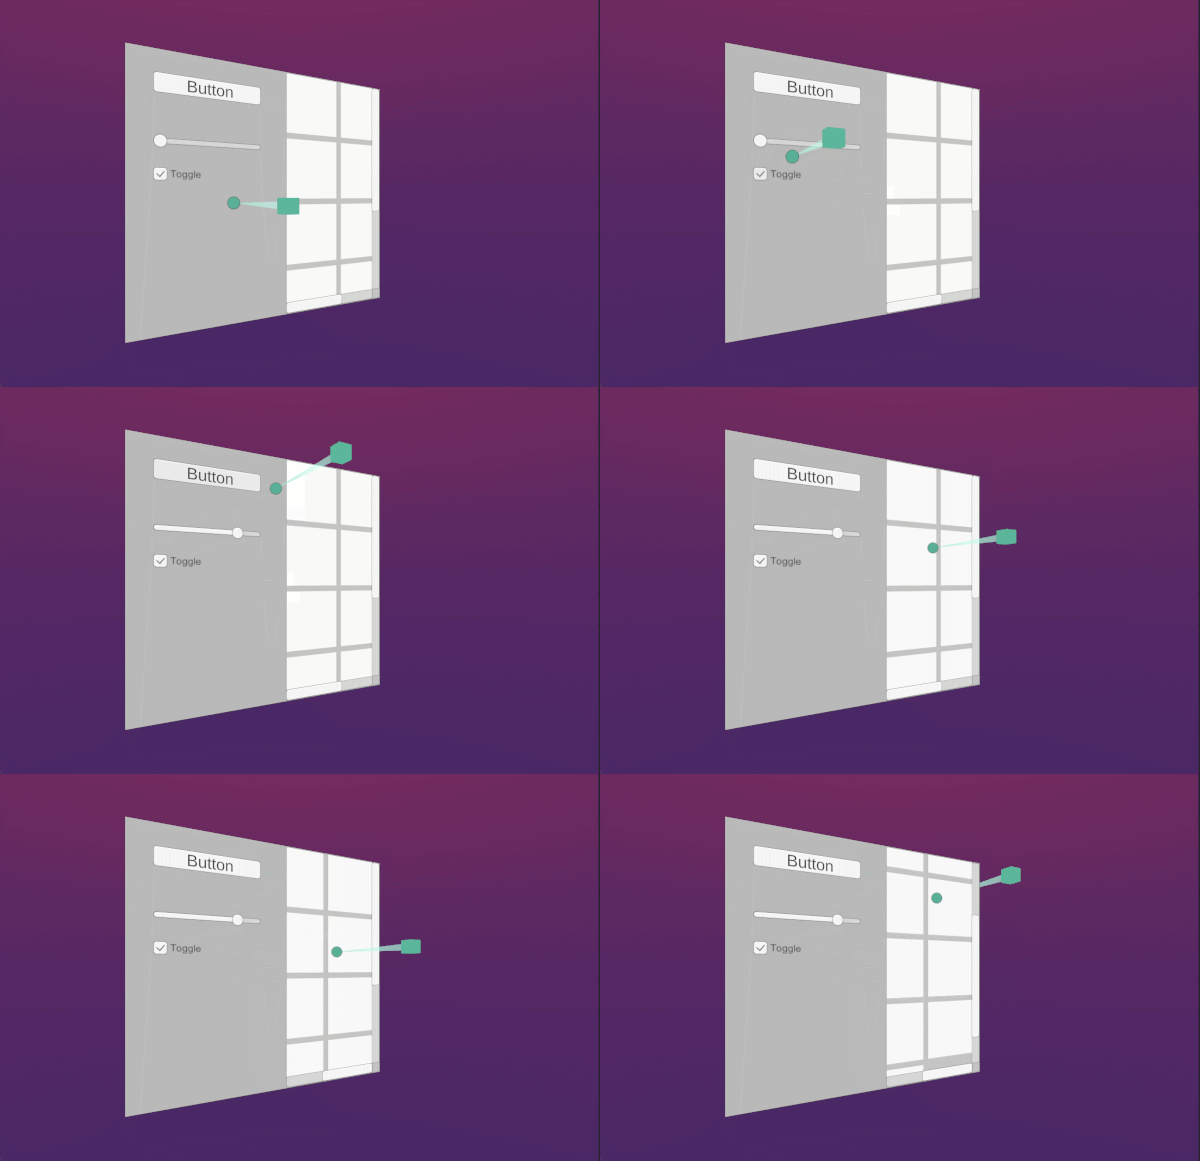

Figure 6 Non-VR Demo
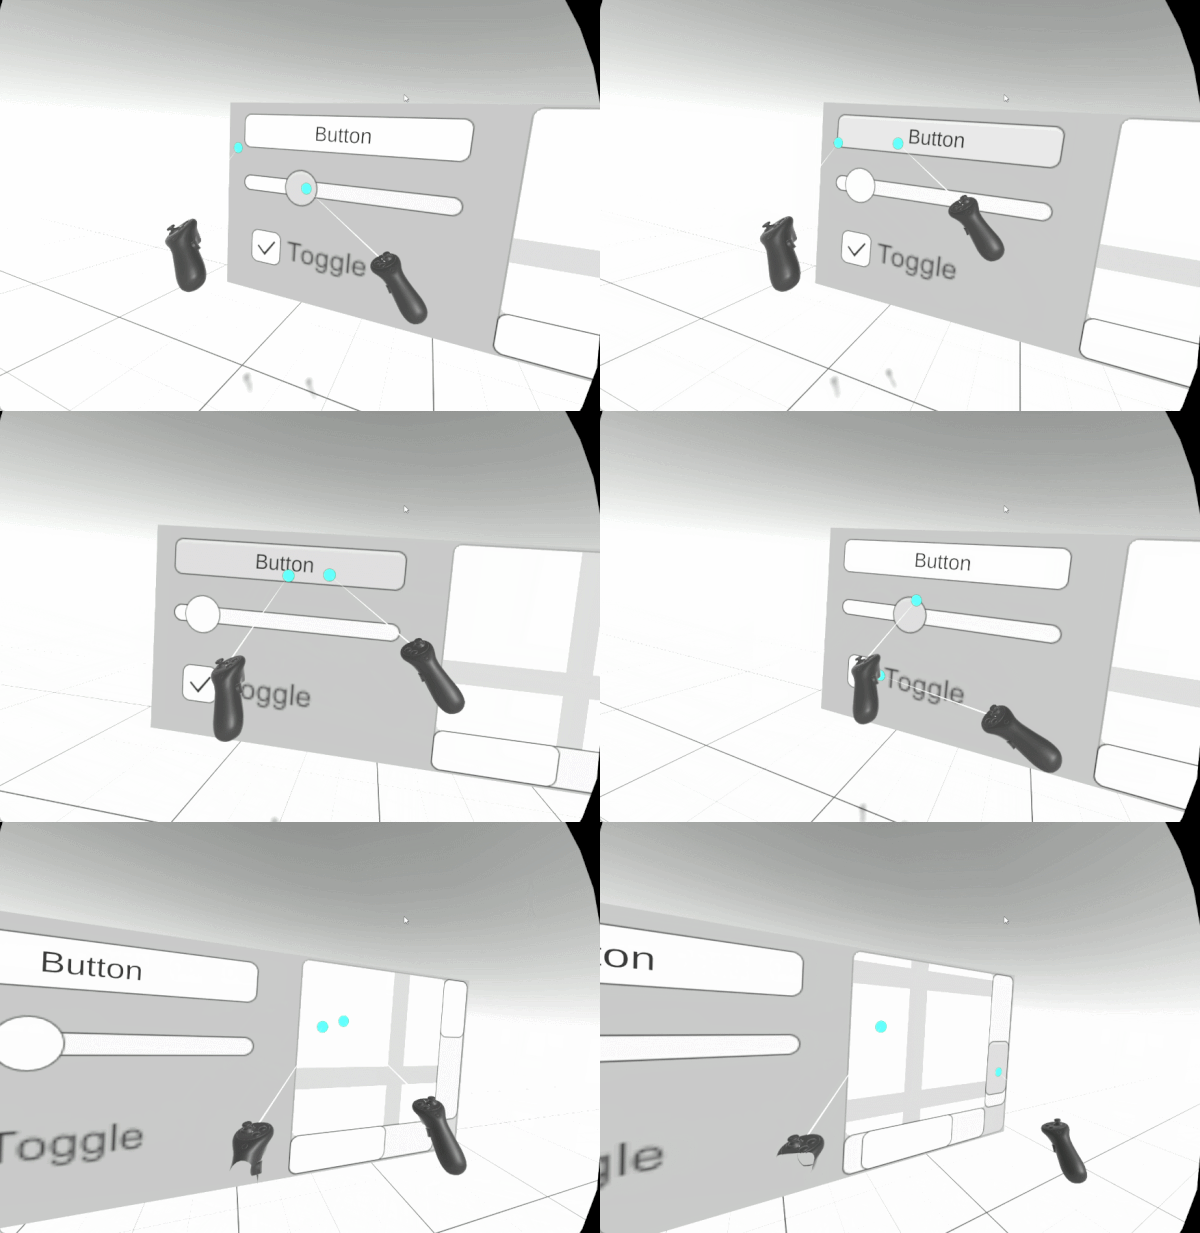

Figure 7 VR Demo
Cheers, and good luck building your game ✌️


