CREATING TEXTURES FOR VIRTUAL REALITY

Written by Shelby Marie Vaughn
Half the fun of being a multimedia artist is playing around with different media. While I love using a traditional medium like colored pencil, I’ve had a blast exploring the digital art space. At Amebous Labs, I’ve adapted my practices for virtual reality (VR). There are countless ways to make art for the medium, but I’d like to share two of my techniques for creating 2d textures for 3d models.


I like to take unconventional samples, so they are not immediately recognizable.
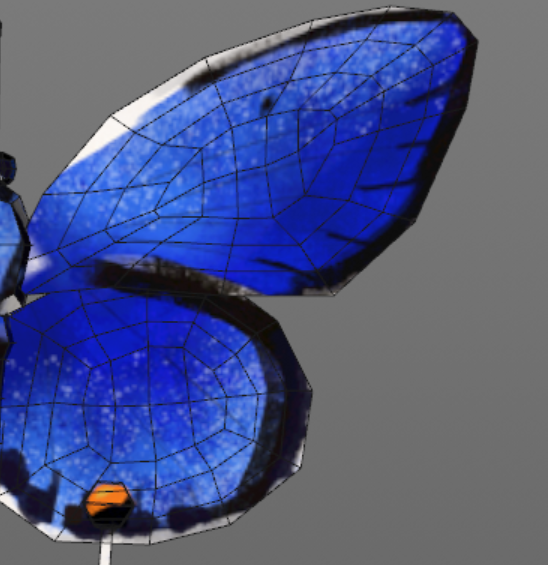
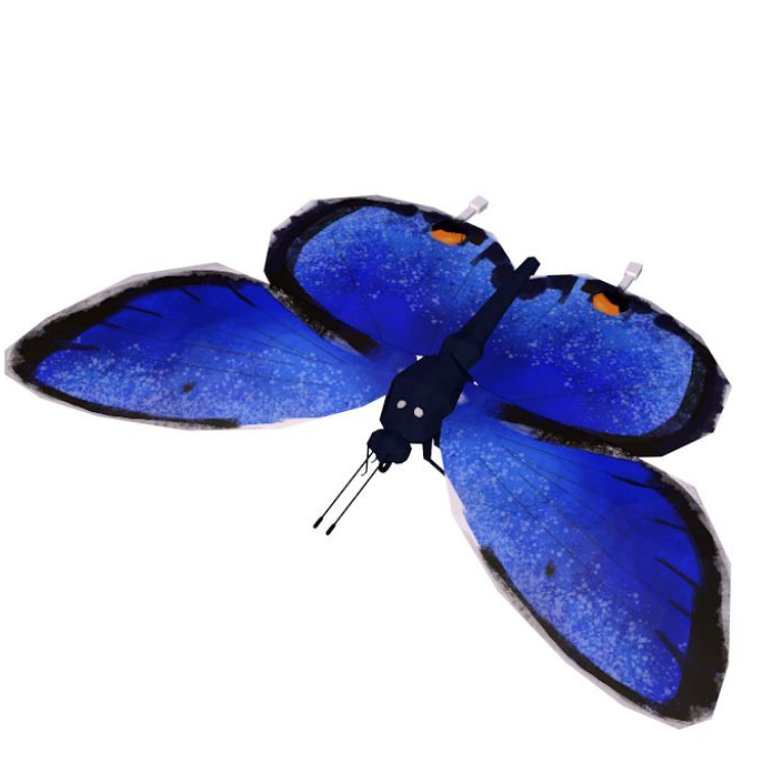
The first is a free-hand approach. This is most useful when I am creating a texture for something that has organic shapes or does not require tiling (repeating the design in multiple directions.) For example, I created the Eastern Tailed-Blue Butterfly’s main texture by hand in the app Procreate on my iPad. First, I grabbed a screenshot of the 3d model to have a general idea of where the elements I’m drawing will land when they are mapped on later.
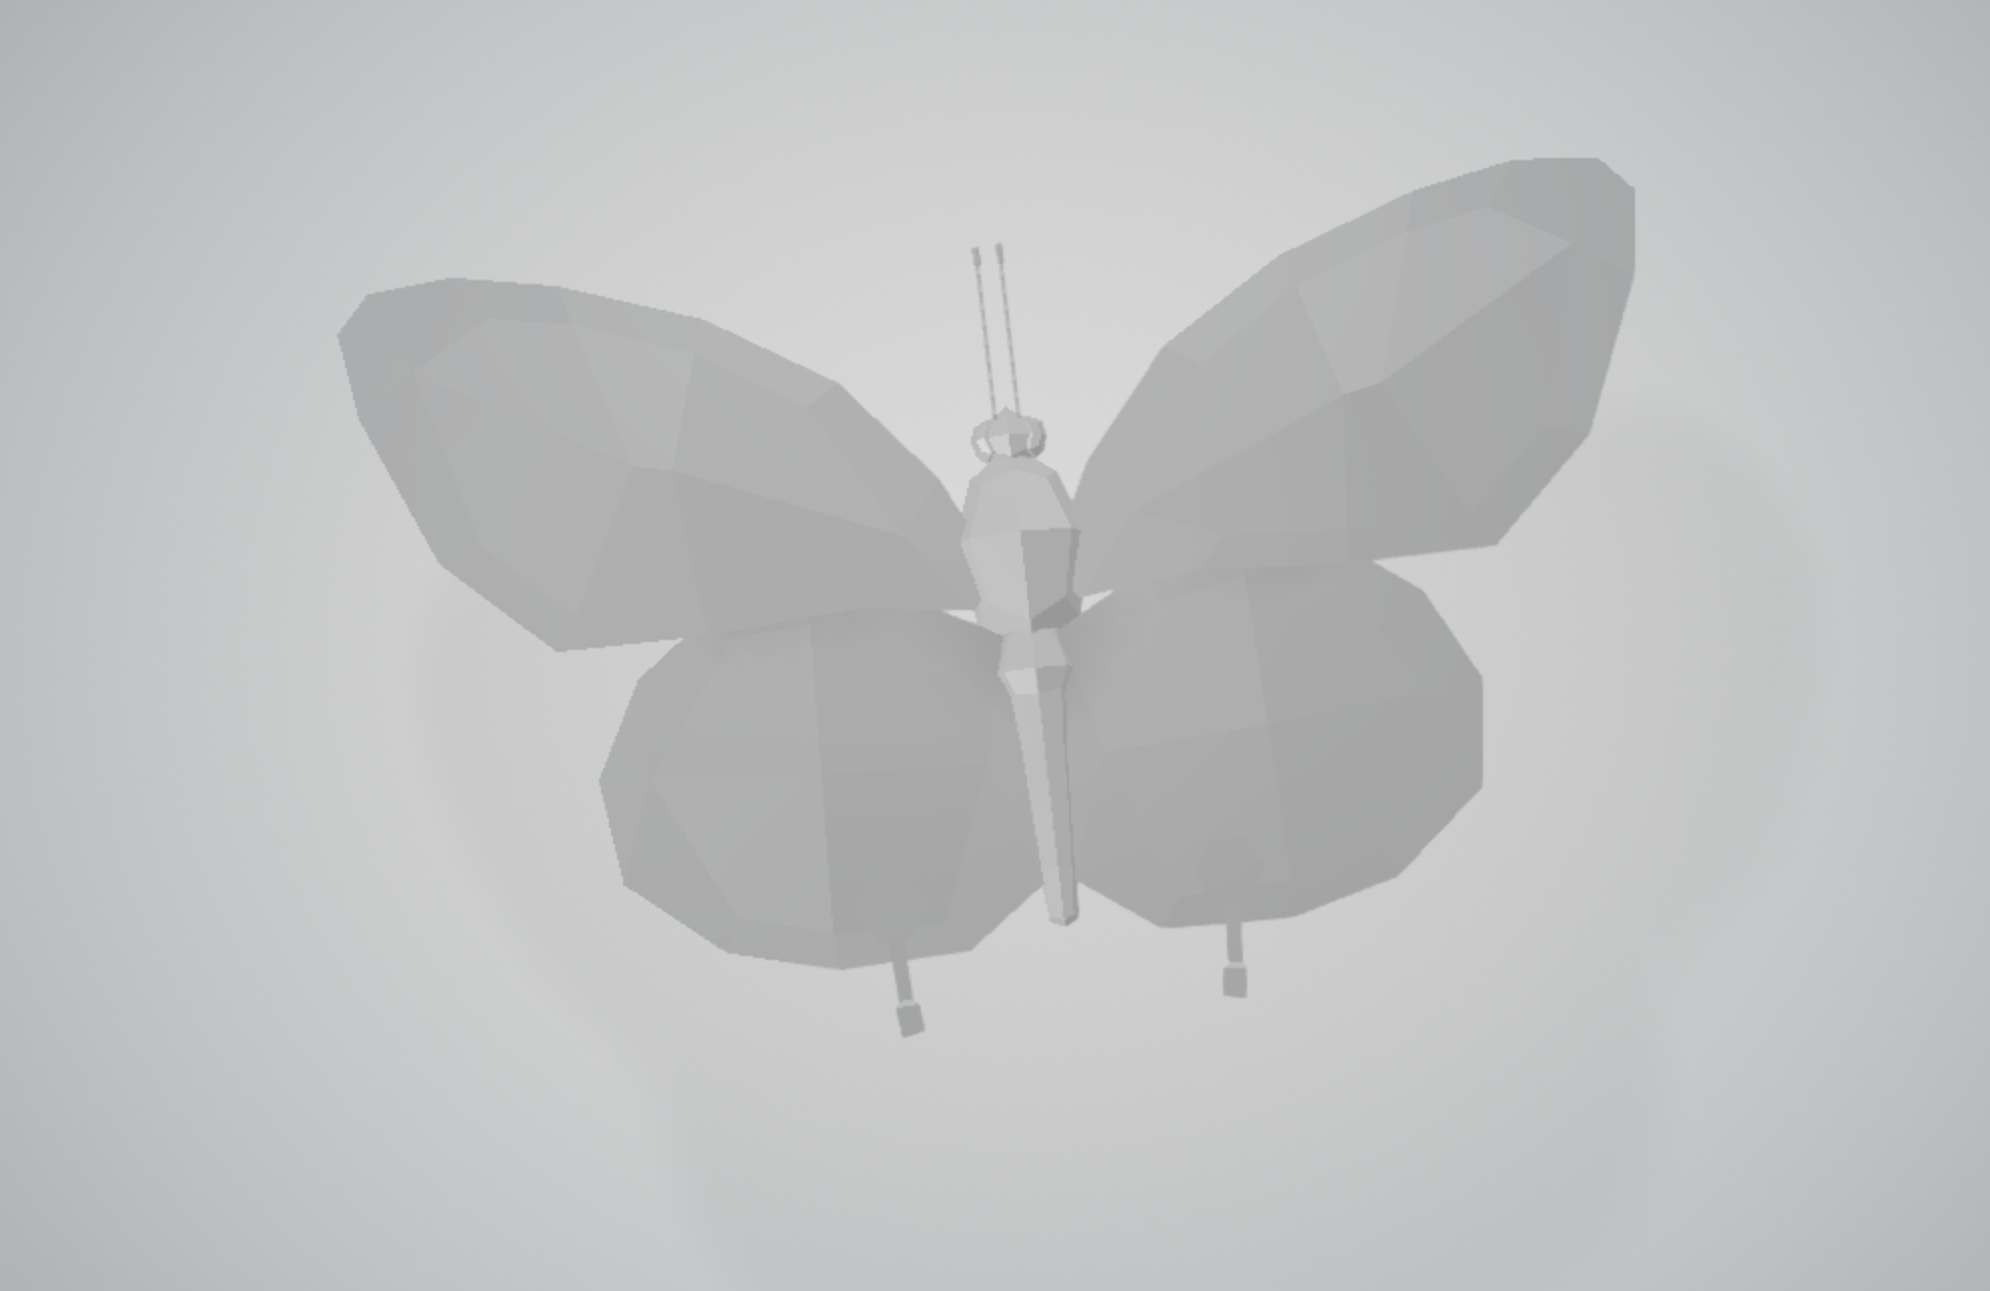

Once I’ve traced the important curves and edges, I begin digitally painting. Layers are your friend! This makes it easier to pass to another artist or make quick changes, rather than drawing all of the details on one layer.
When I am happy with the painting, I will export the layers as pngs to Photoshop. There I can clean up any details and send it to the modeler to assemble. Here is the finished look. What do you think?


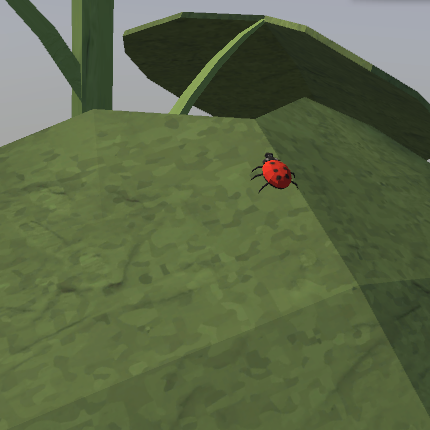
The second method I use is creating seamless designs. This method takes a little more technical skill and finesse but looks great when it works. Let’s take a leaf texture, for example. It is green, rough, and bumpy in parts, but not quite as unique as a butterfly. In this example, I took a picture of my patio and combine it with our illustration style to create a new design. There are free texture databases online to help build your collection. I like to take unconventional samples, so they are not immediately recognizable.
Next, I add the Photoshop cutout filter to make it look more like an artsy pattern than gravel. Then, I’ll add a few more art layers or textures until I am happy with the shape. When I have a good base, the next step is to add the hue or a color that makes sense for the object. In this case, I add a few greens. Be sure to play with the opacity settings to see the different effects you can get with the same image. Before I export, I make the design seamless. To do that I take each patterned layer and apply the offset filter so that the outer edges are flipped inwards. To make sure the seams are wrapped to the center, I push the canvas horizontally and vertically, half of its size. Then I take the stamp tool and clean up the seams. You can also check your seams online with this helpful website; it is a great tool to make sure your pattern repeats naturally.
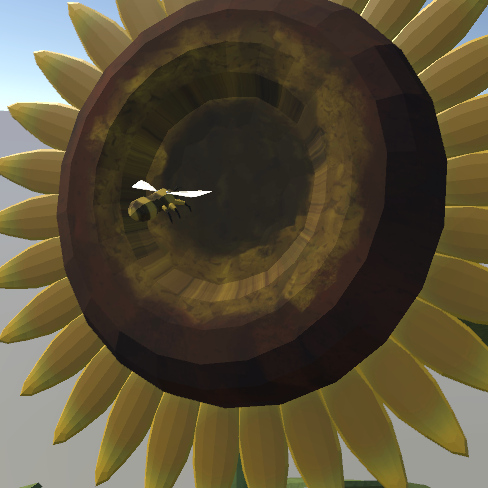
When you’ve cleaned up the seams, you end up with a pattern that can be tiled on 3d surfaces beautifully. Some models use a combination of the two methods I described. Our sunflower has a seamless leaf and stem textures with hand-painted seed and petal textures.
