SIMPLIFIED NORMAL MAPS AND HOW TO CREATE YOUR OWN

Written by David Macias
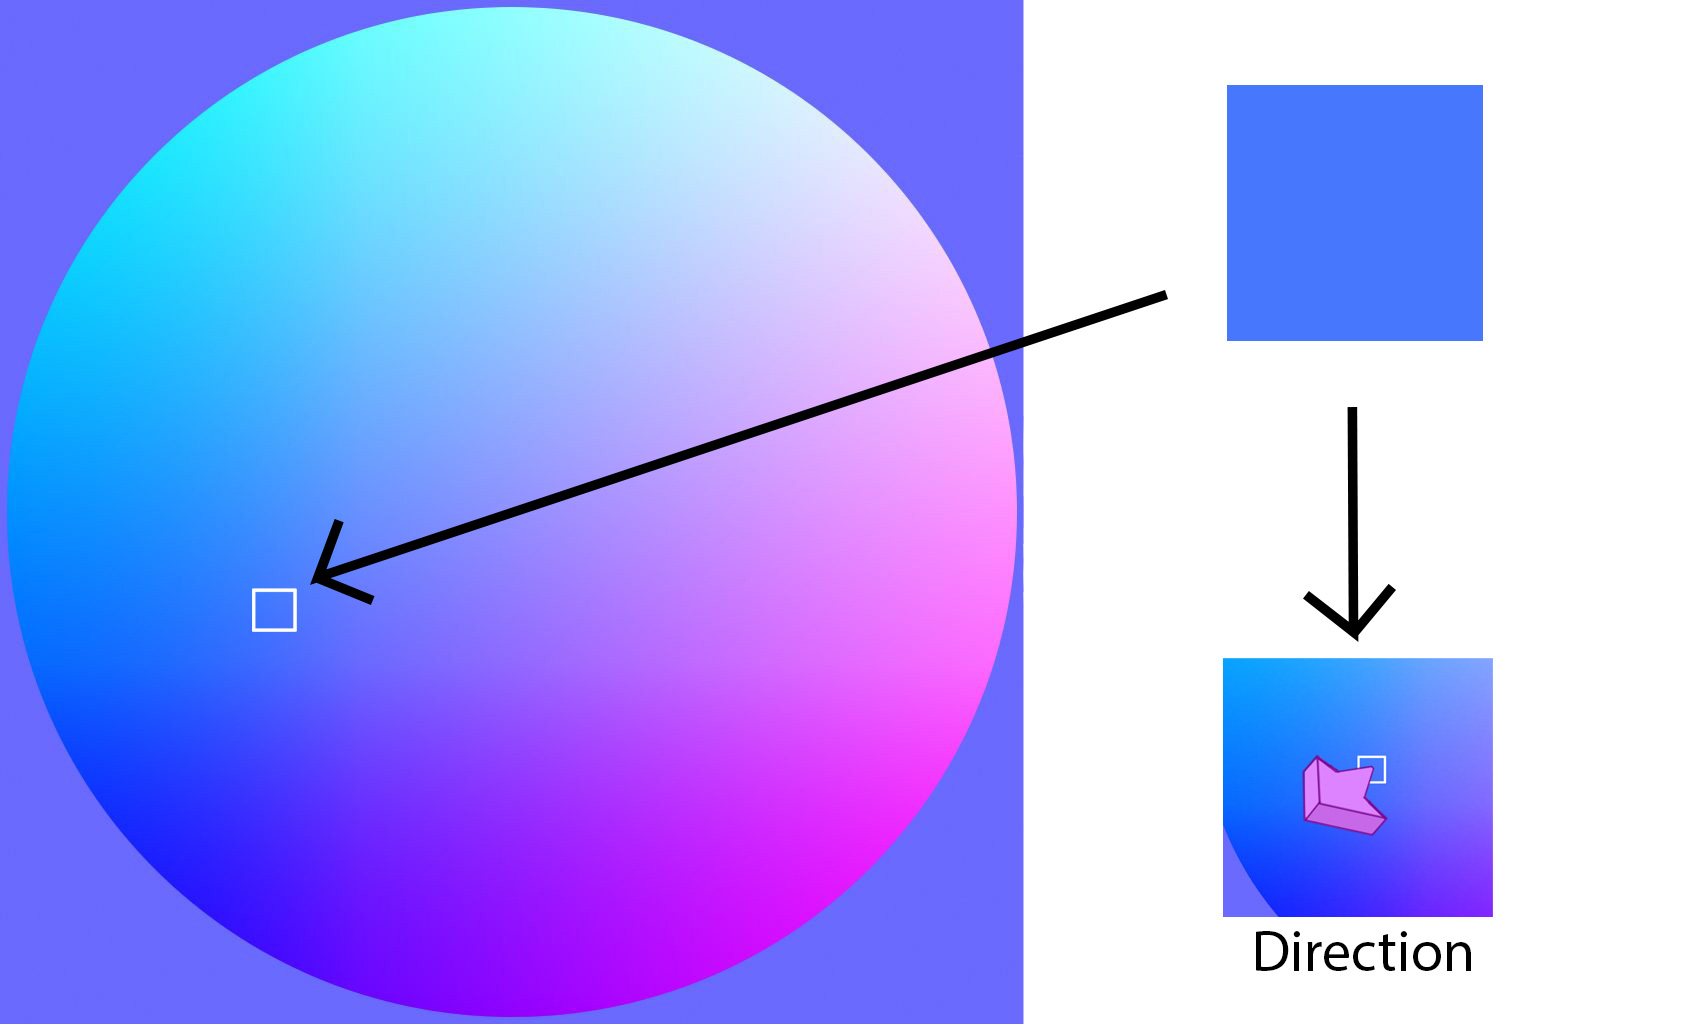


When getting started in 3D art and creating materials, the words “bump maps” or “normal maps” can bring a little confusion. The idea behind normal maps is somewhat complex but can be easily explained; A normal map is a texture that is used to generate detail in a mesh that doesn’t exist within the topology of the mesh. It takes the information in the map and uses it to fake angles in the mesh and reacts to the lighting in the scene accordingly.
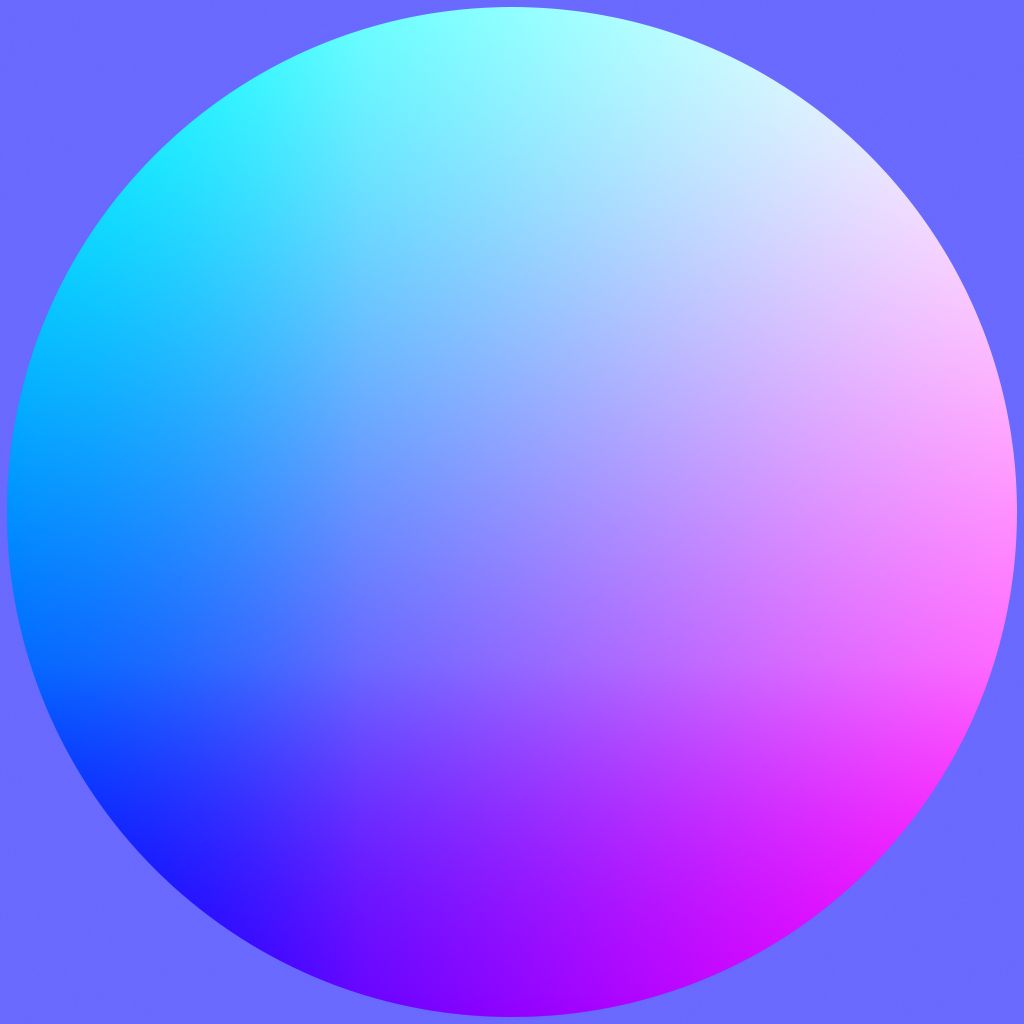
Normal Map
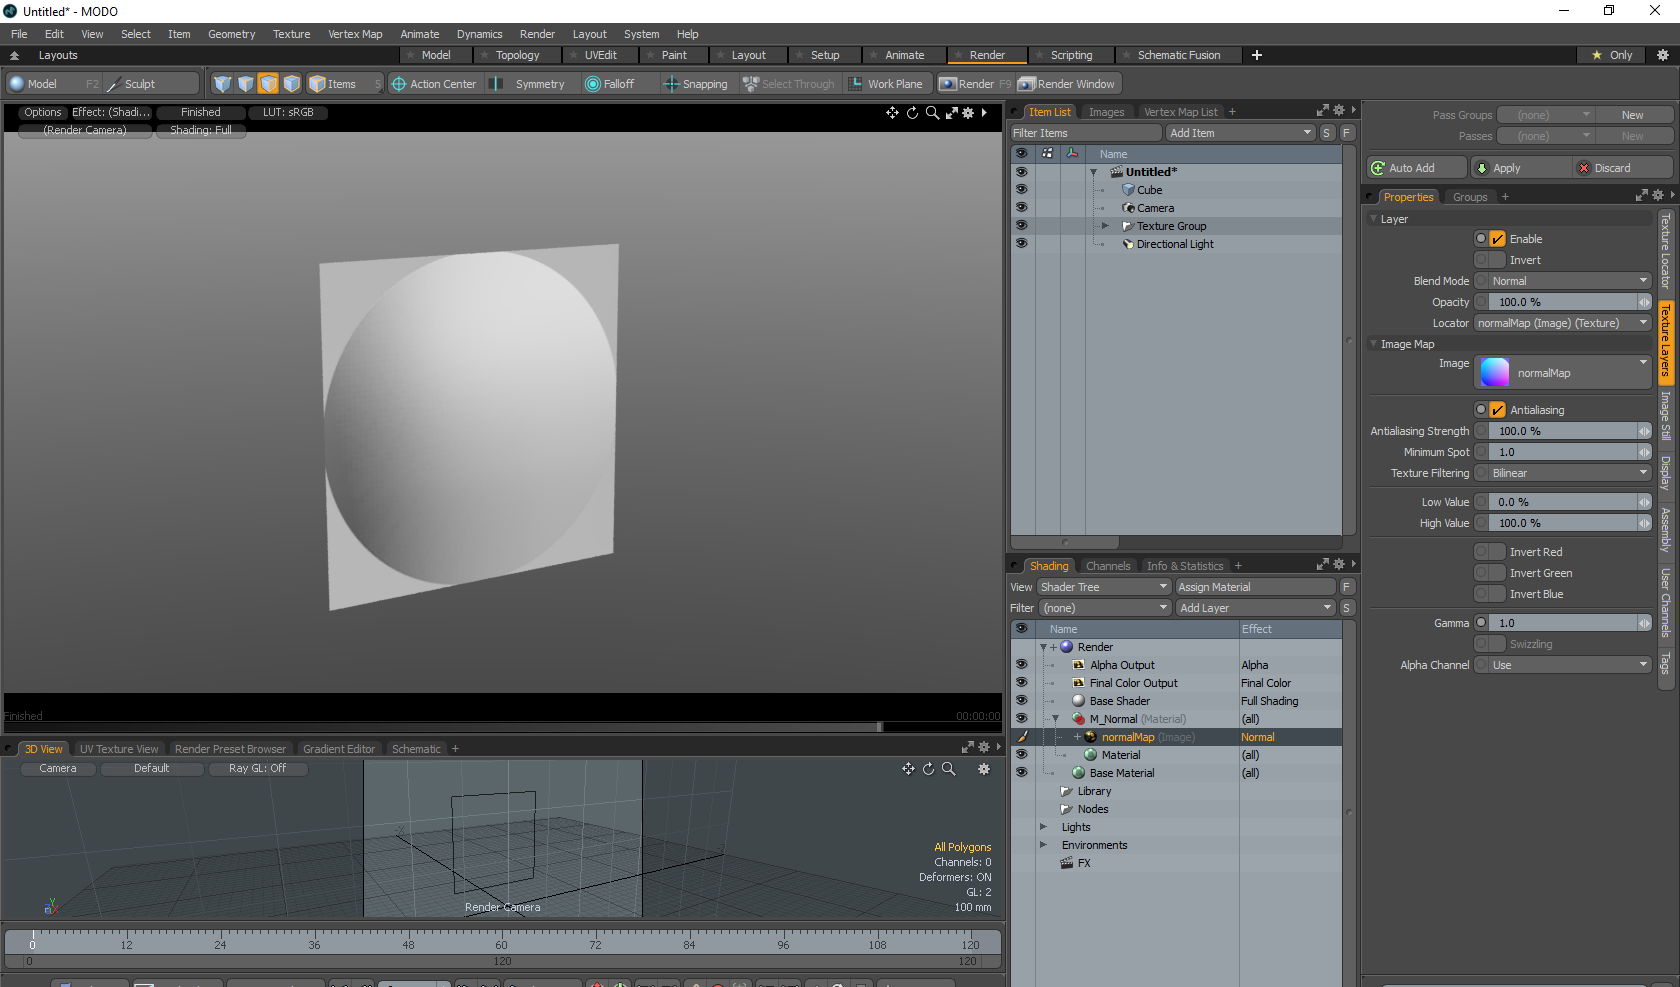
For the sphere above, every color represents an angle direction. If we were to put this map on a plane and use it as a normal map, it would look something like this.
(Click on images to enlarge)
And if we turn the map on and off, it would look like this.
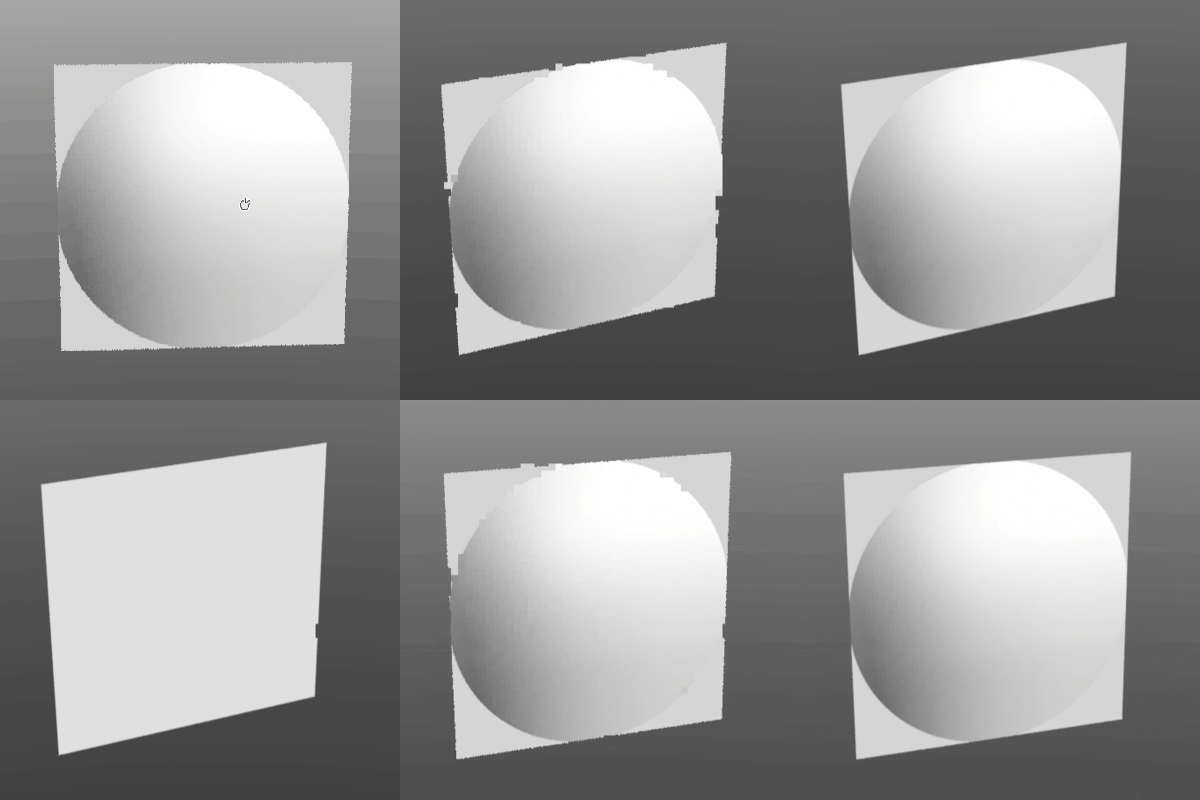

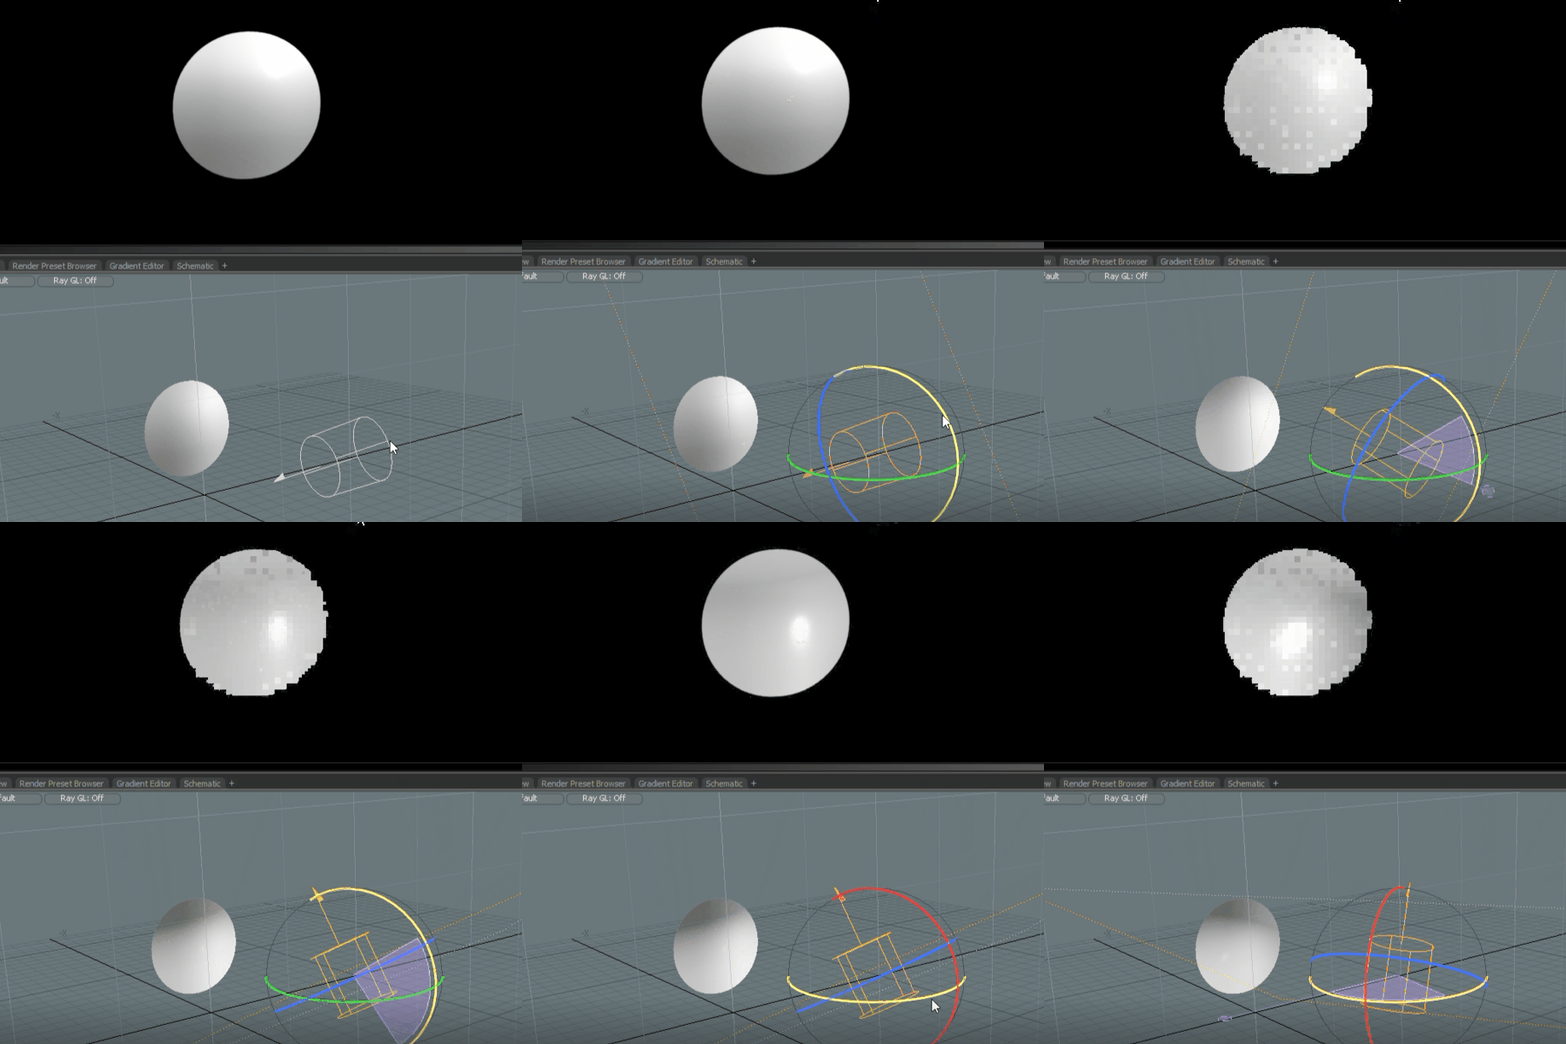
With a little specularity and light, we have a flat sphere.

In the image below, if I color selected in the white square (left), that color (top right) would be read as the direction it’s pointing from the sphere.
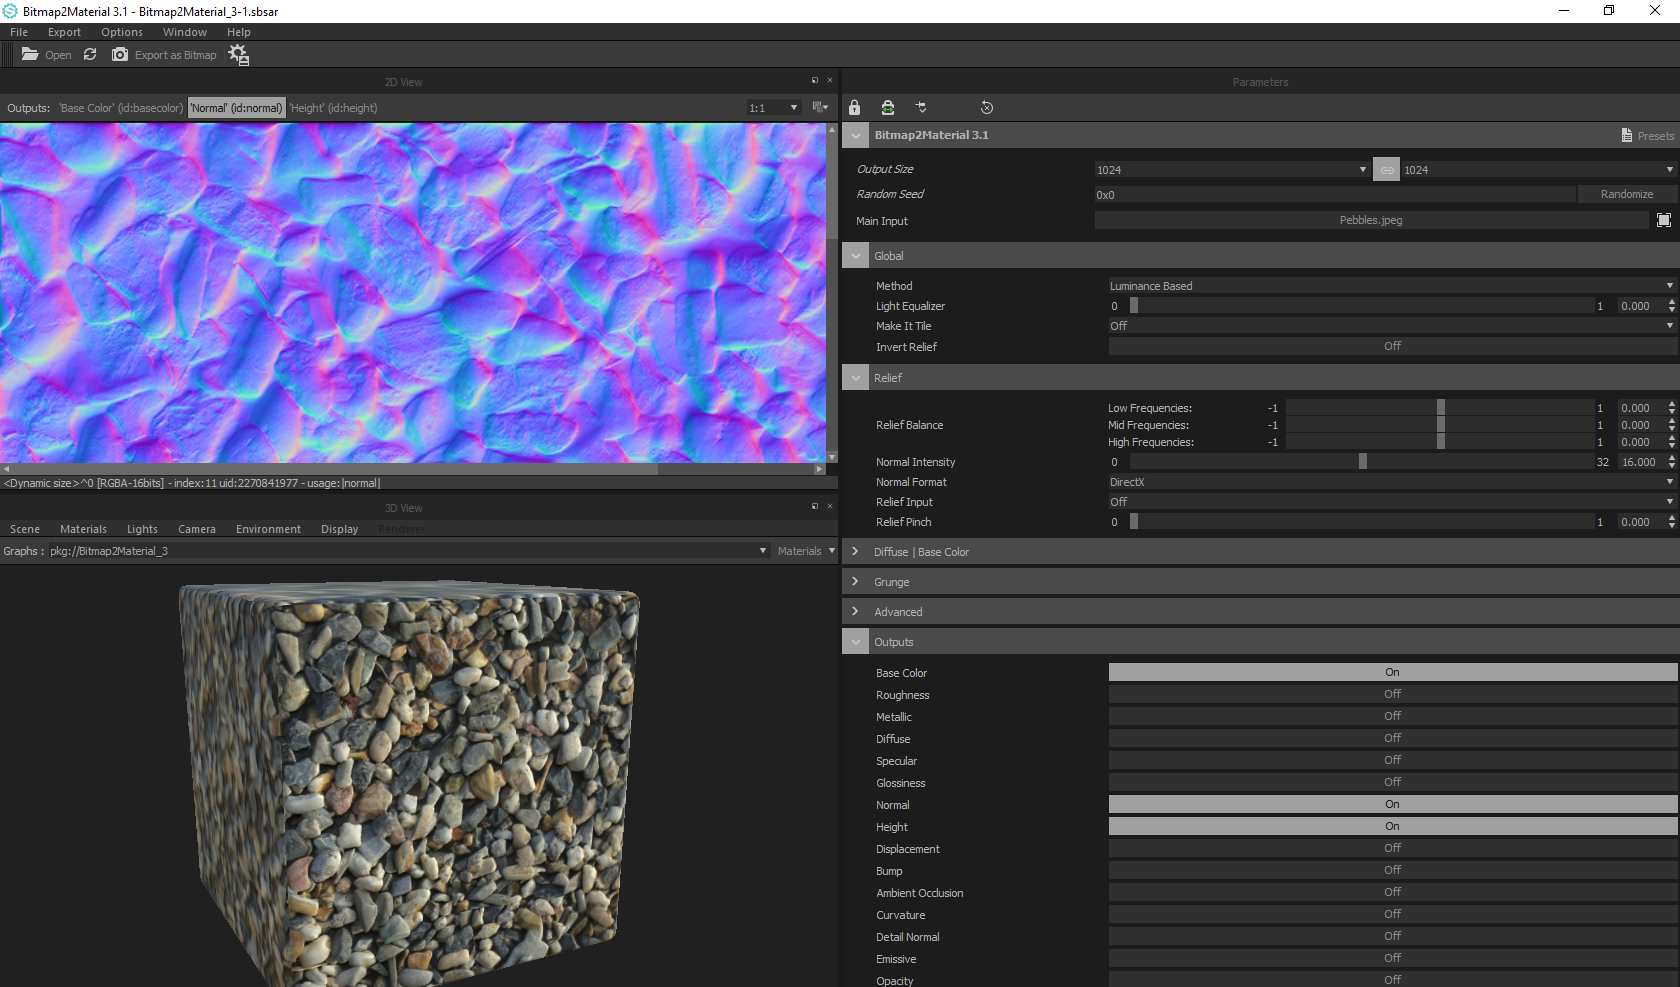
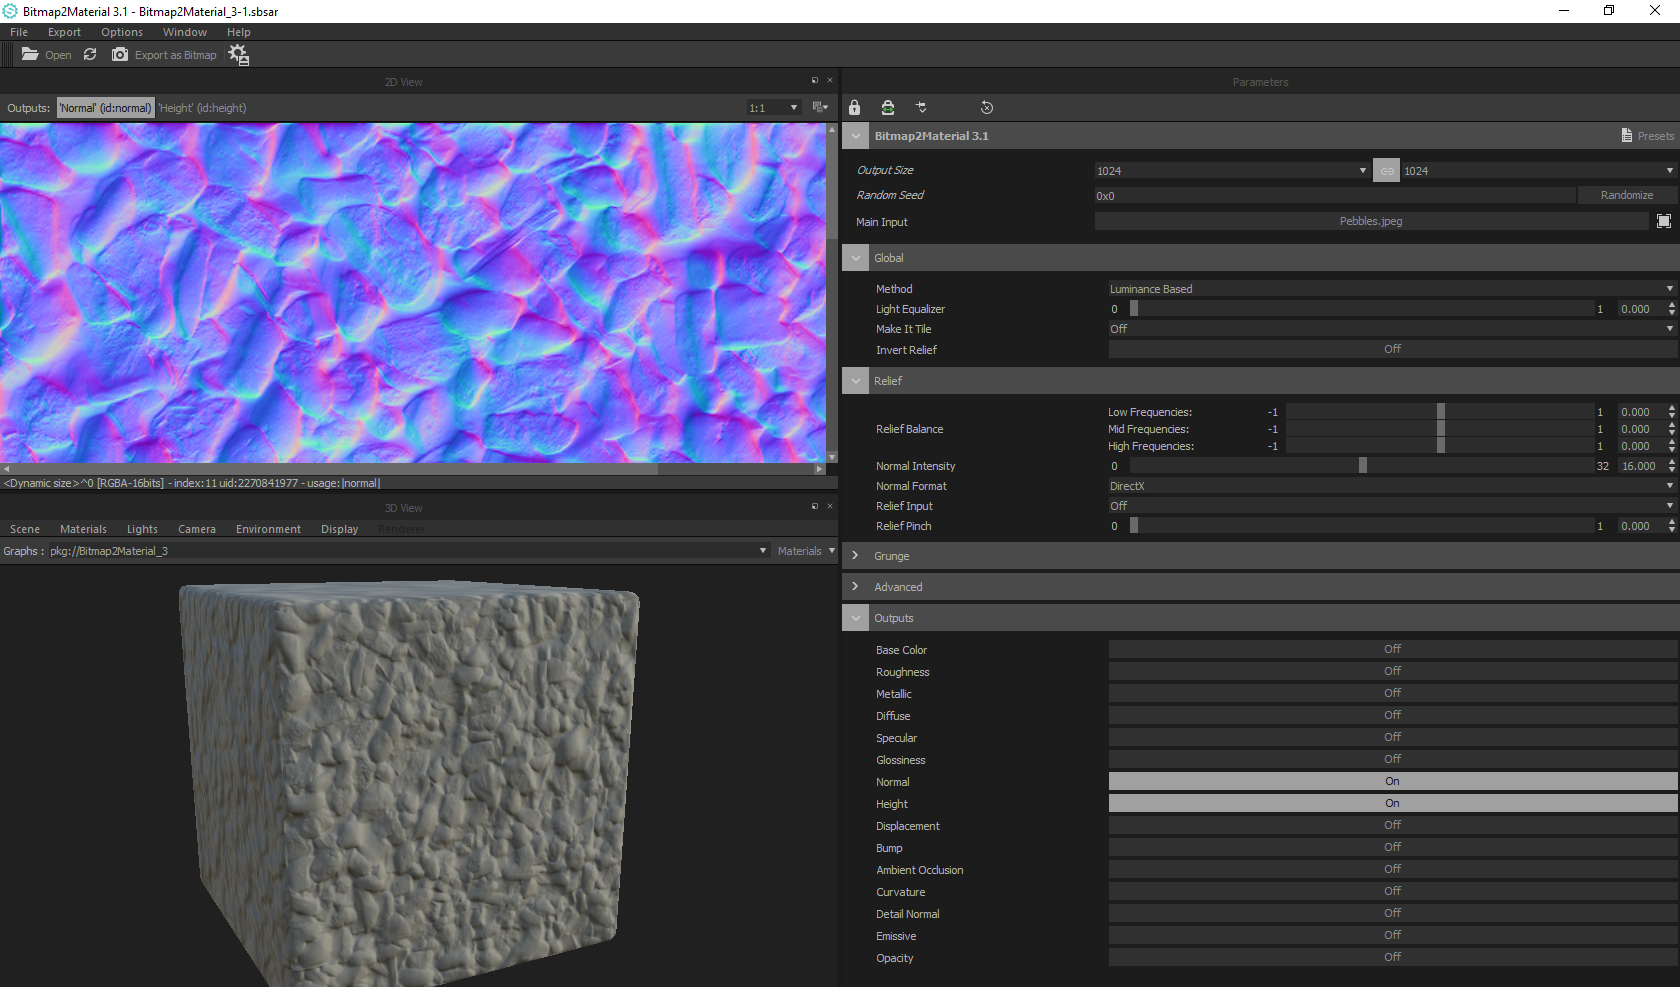
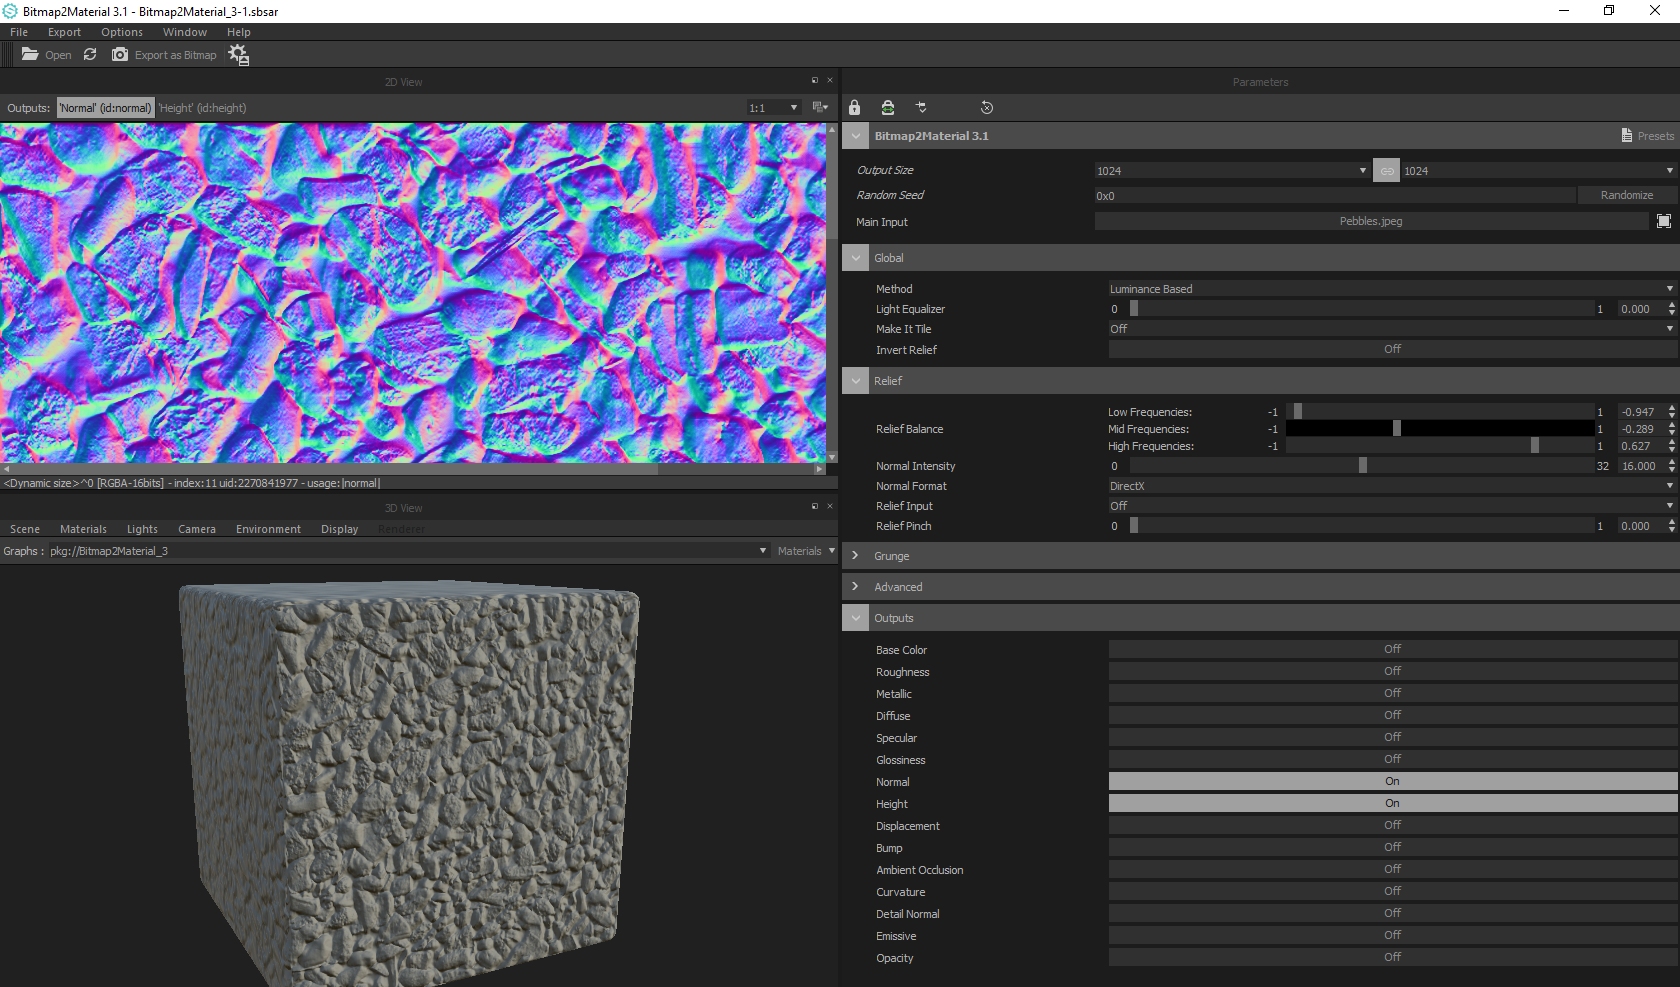
Here is a bit more of a detailed example using a tiling pebble texture I made from an image in Substance Bitmap2Material.
Tiling pebble texture that has generated a normal map from the surface lighting
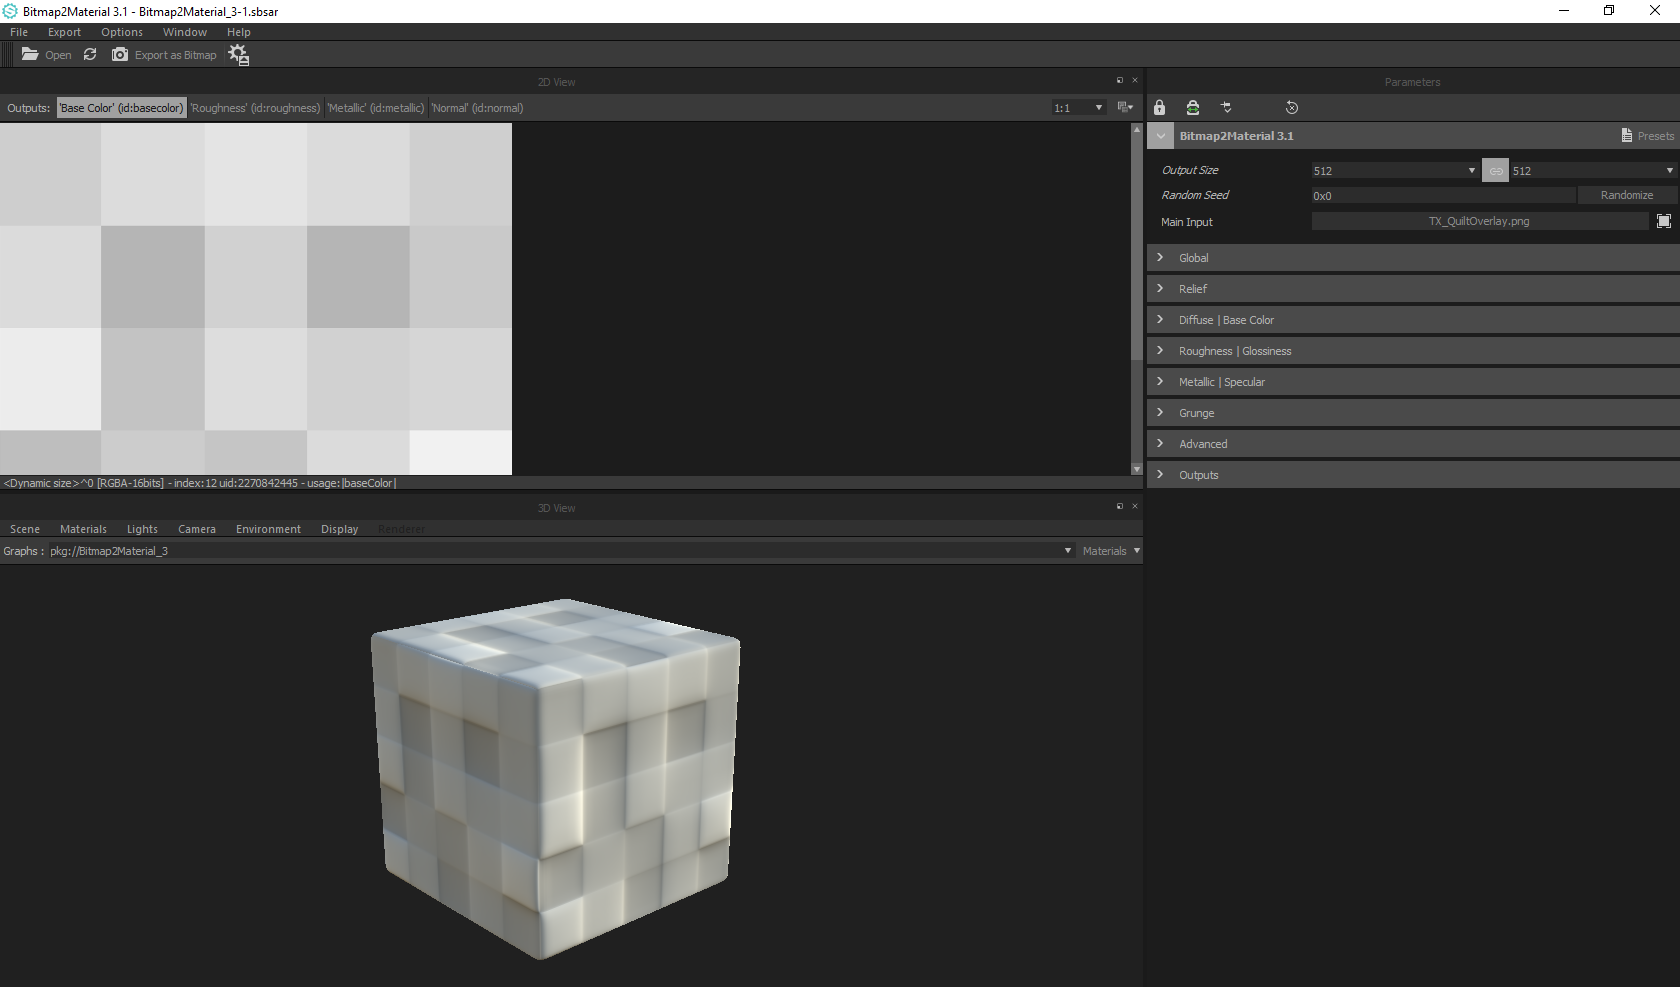
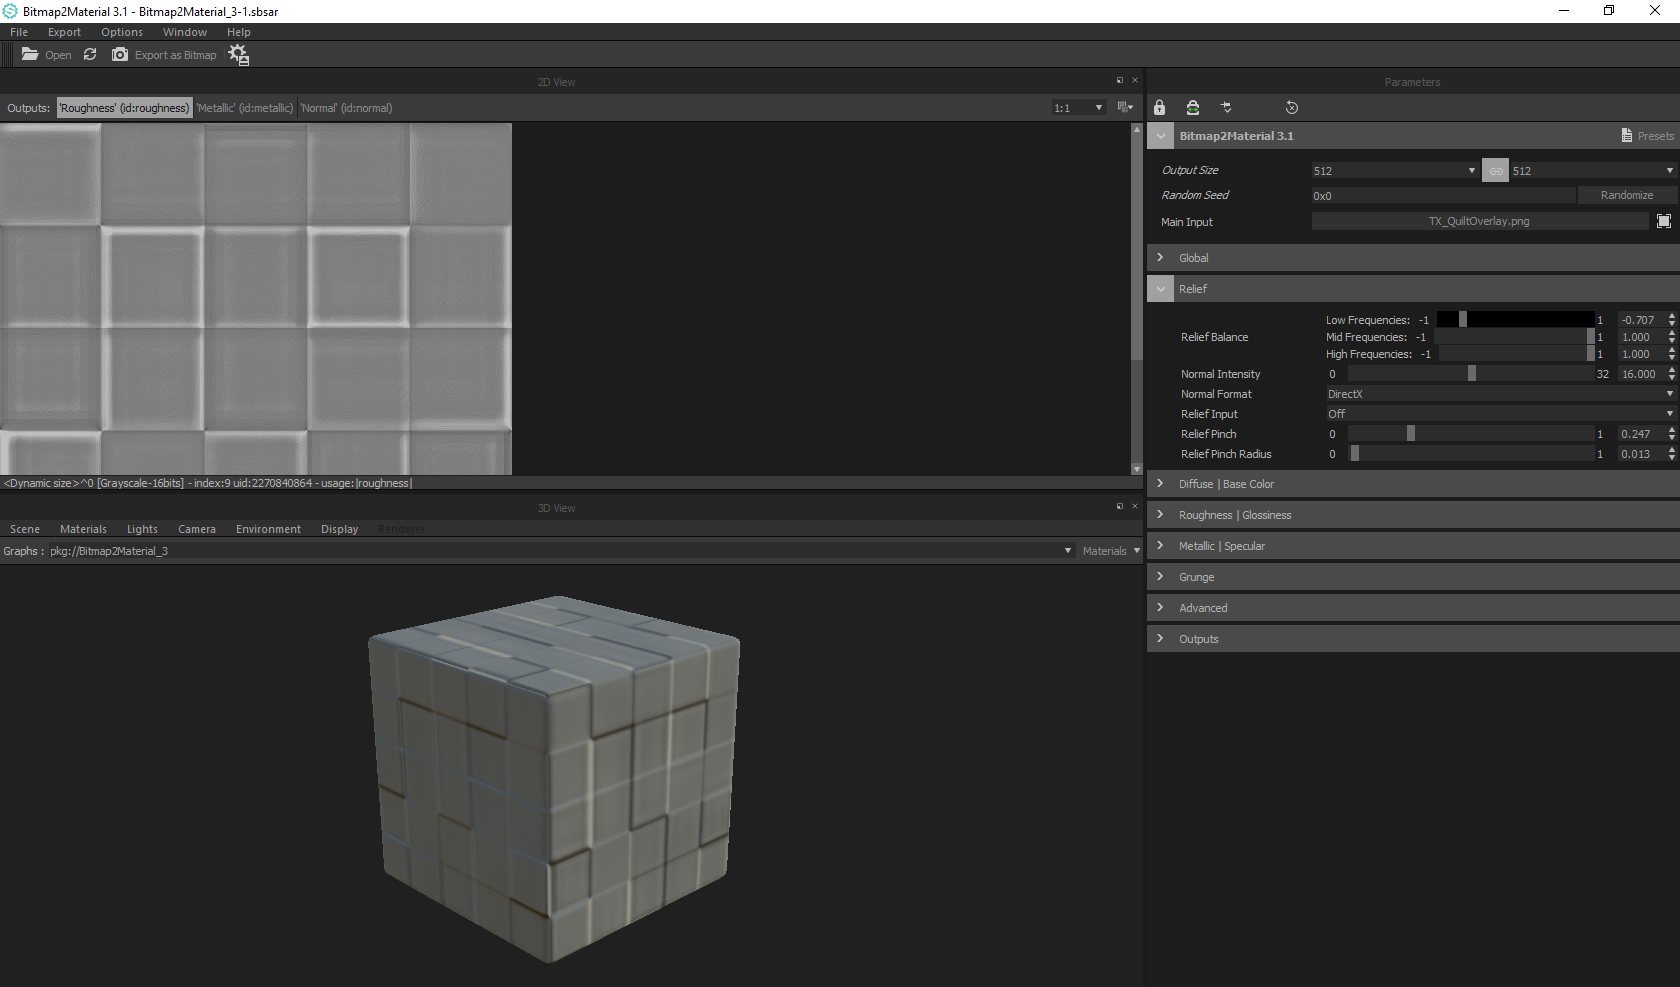
Bitmap2Material (B2M) works great for textures like the one above, but it doesn’t work as well for something like this pixelated greyscale texture I previously made. It has a hard time making clean edges, and while it can still be done to certain levels of success, this is a good situation where creating your own normal map would be a better solution.
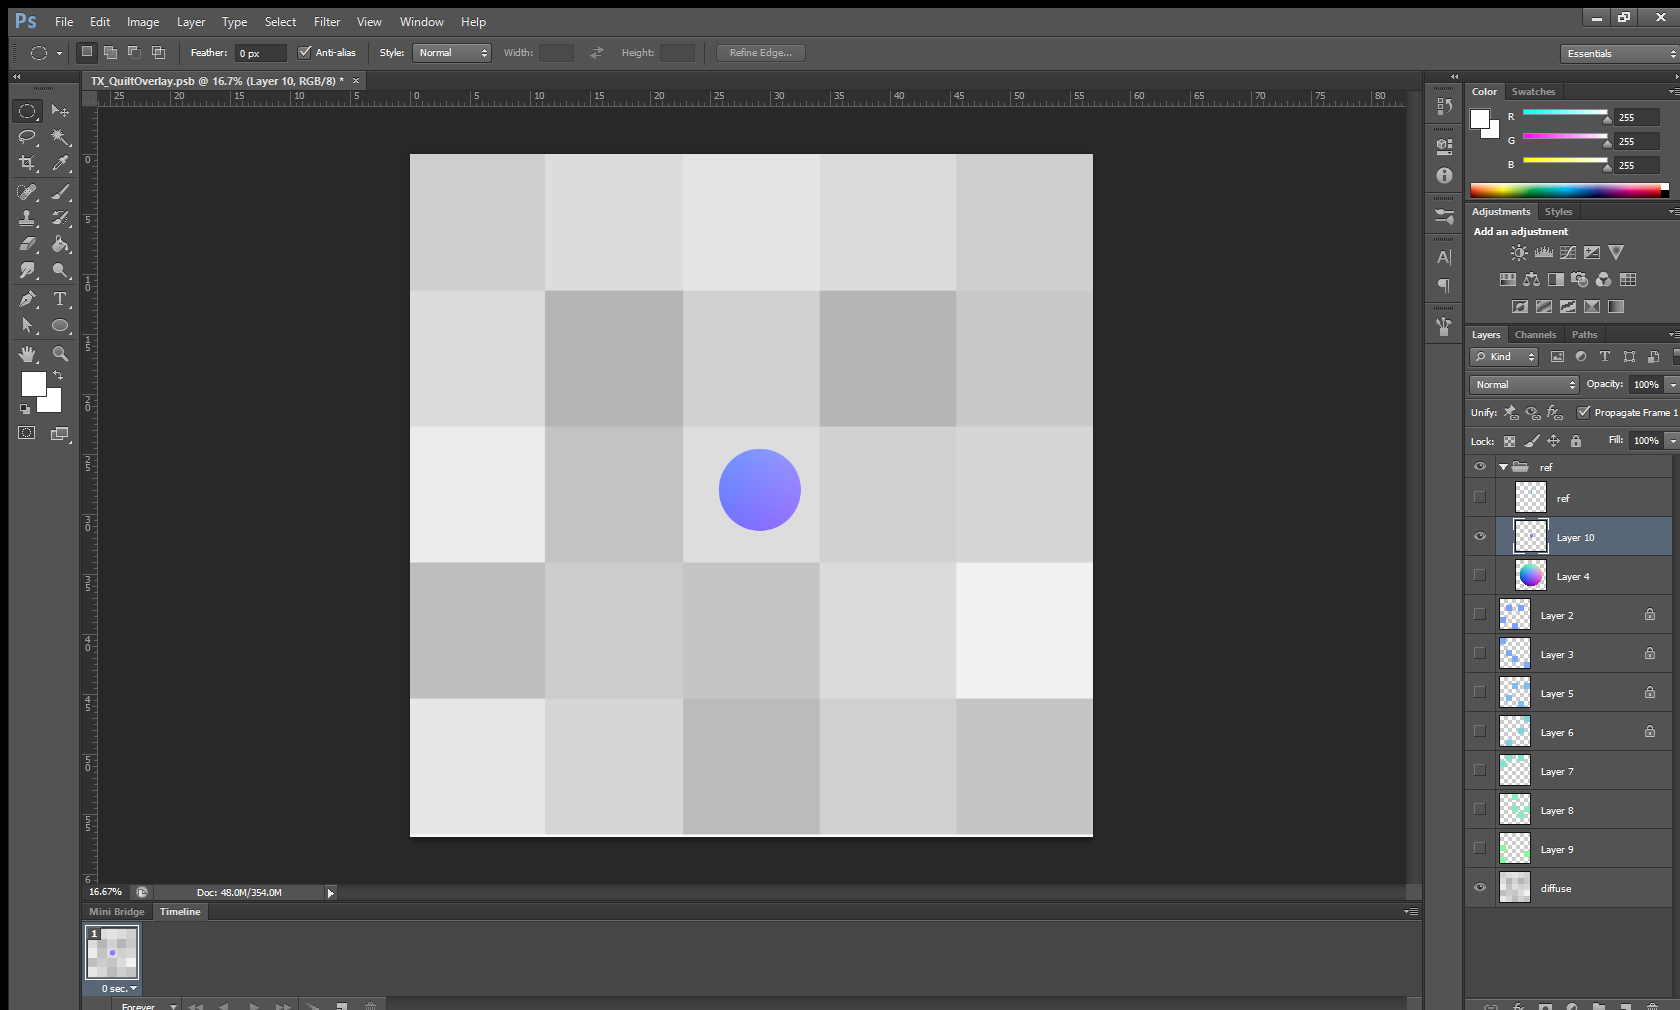
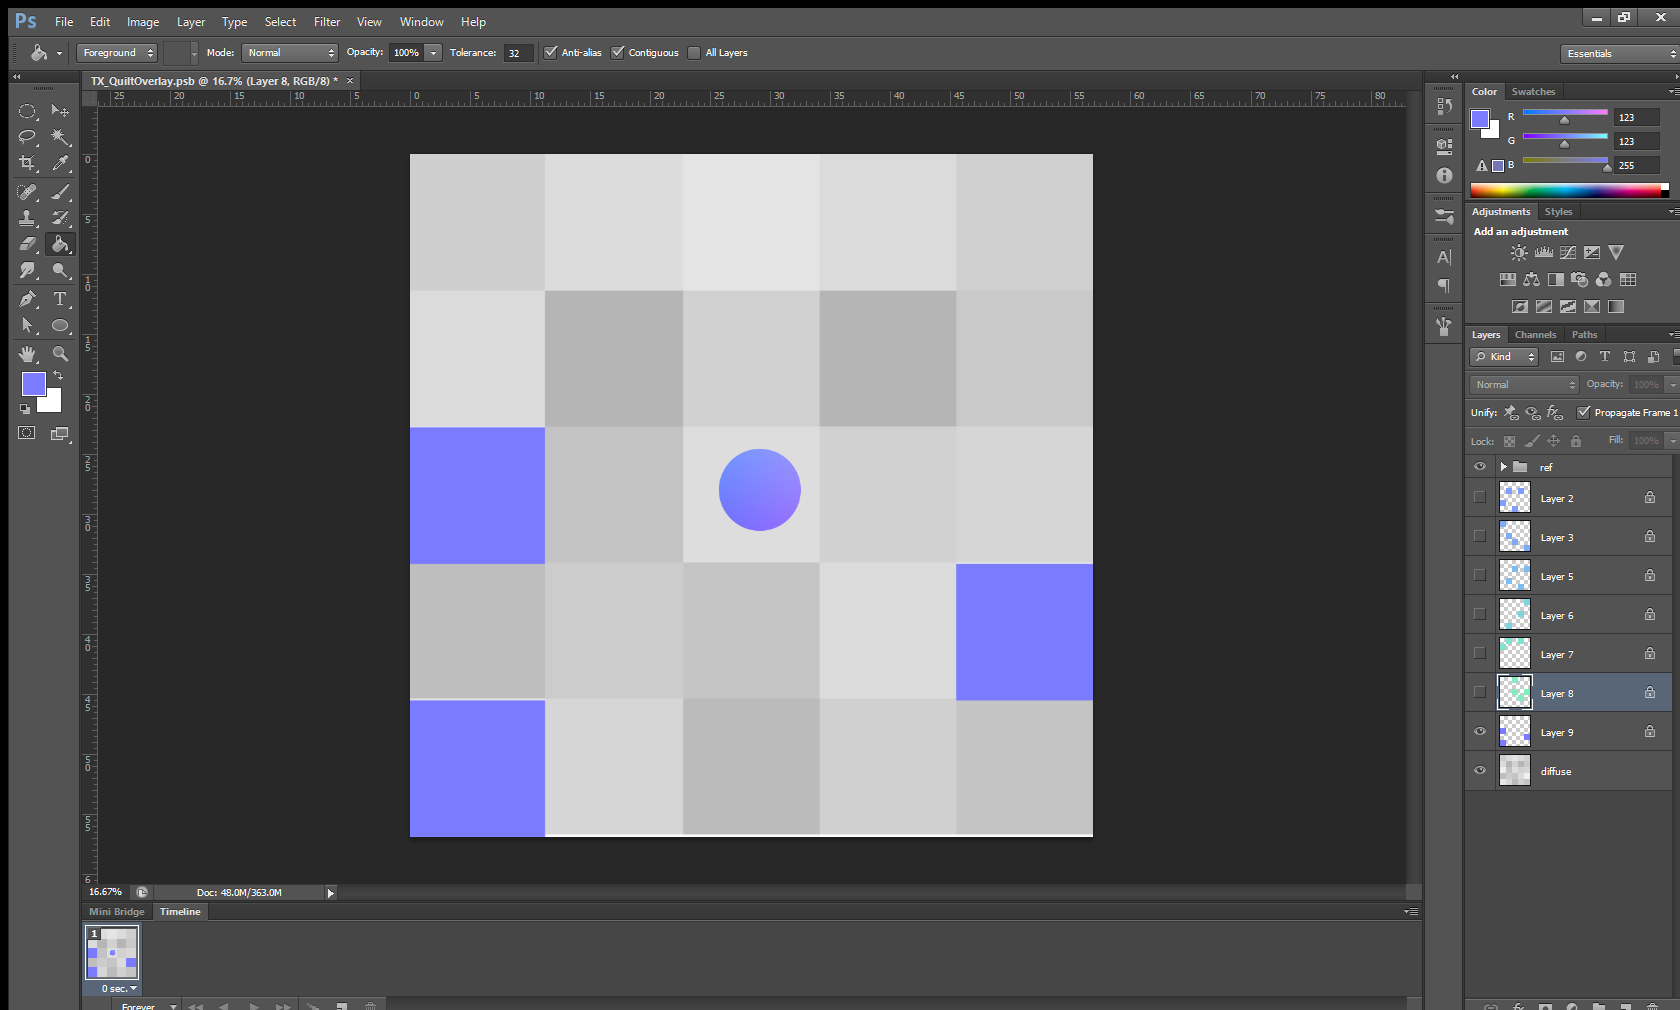
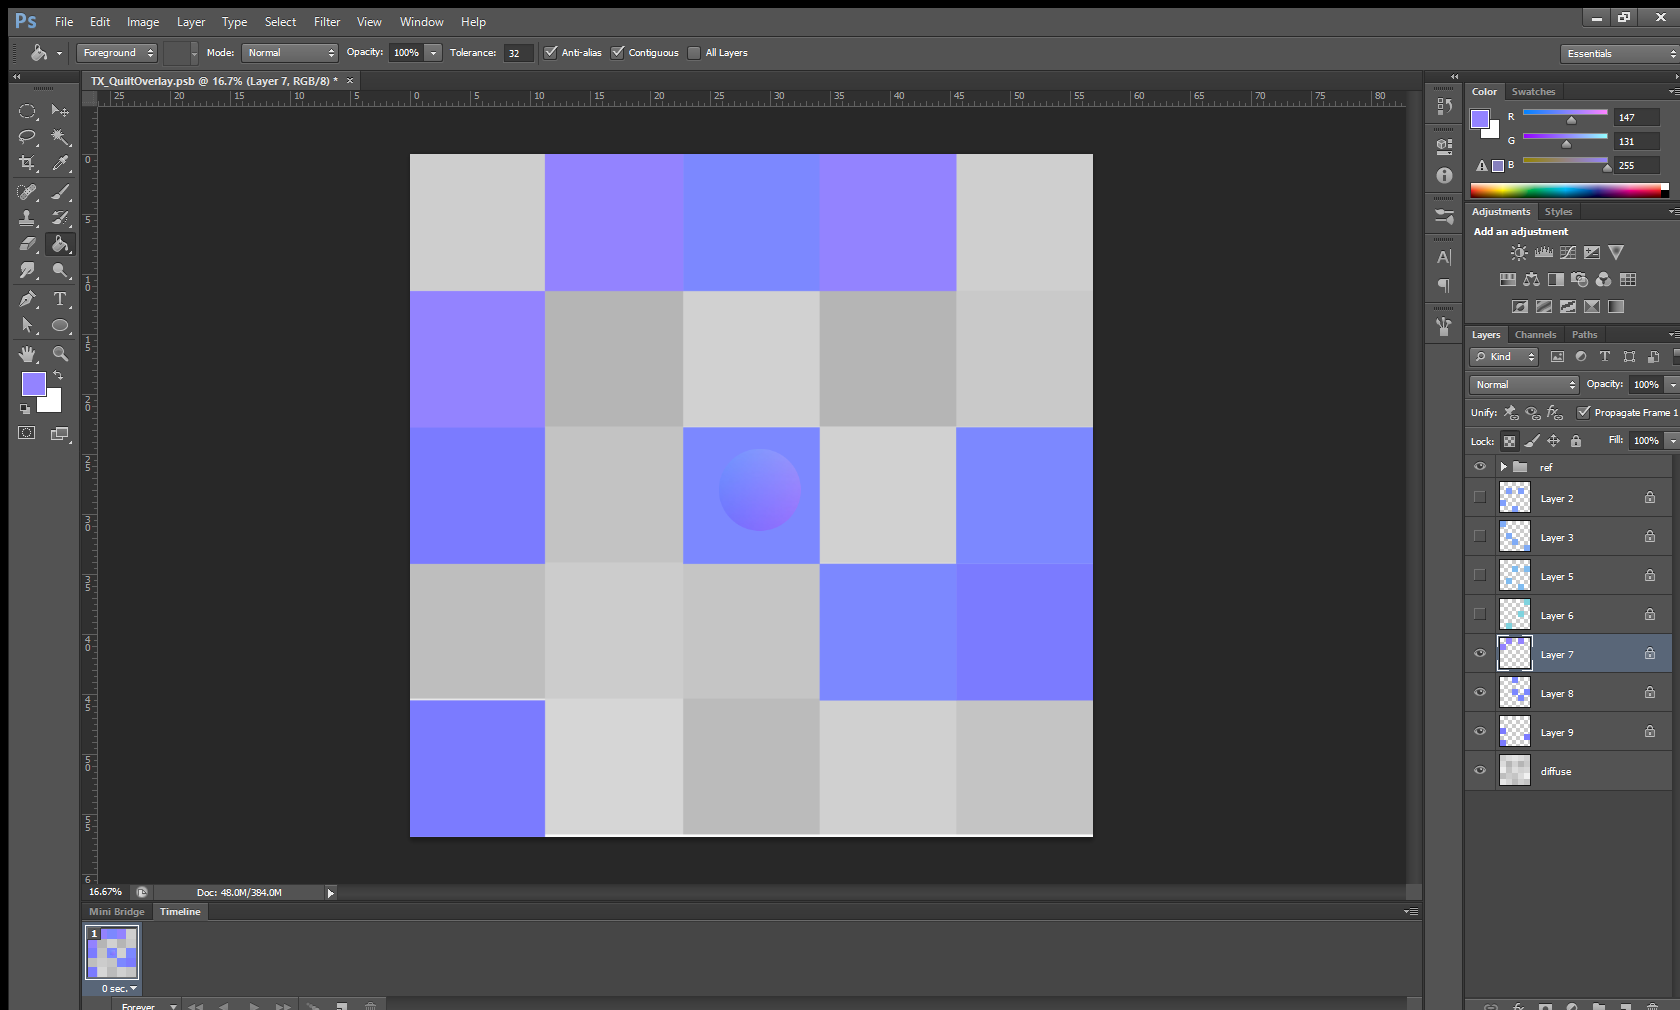
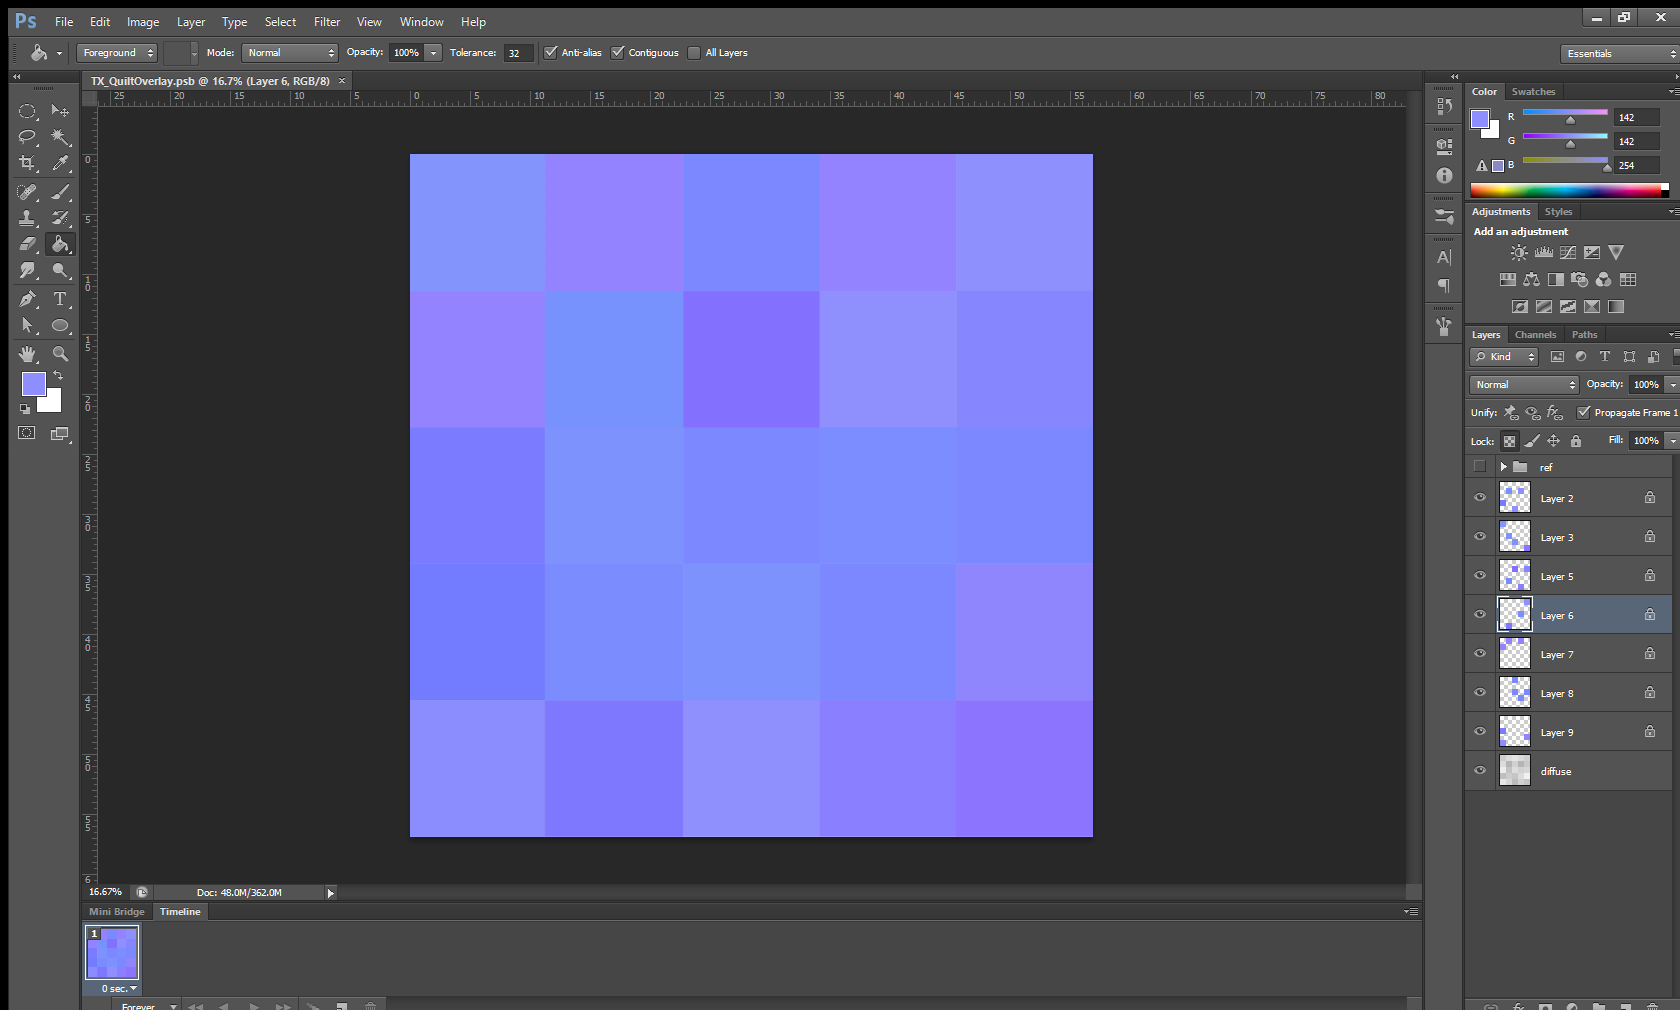
Now, knowing how normal maps work, we would only have to color pick from the normal sphere texture and paint the surface detail we want to create in our custom normal maps. I’ve painted a simple normal map for our game, Loam, to use in a water shader with the pixelated texture above, and these are the steps I’ve taken.
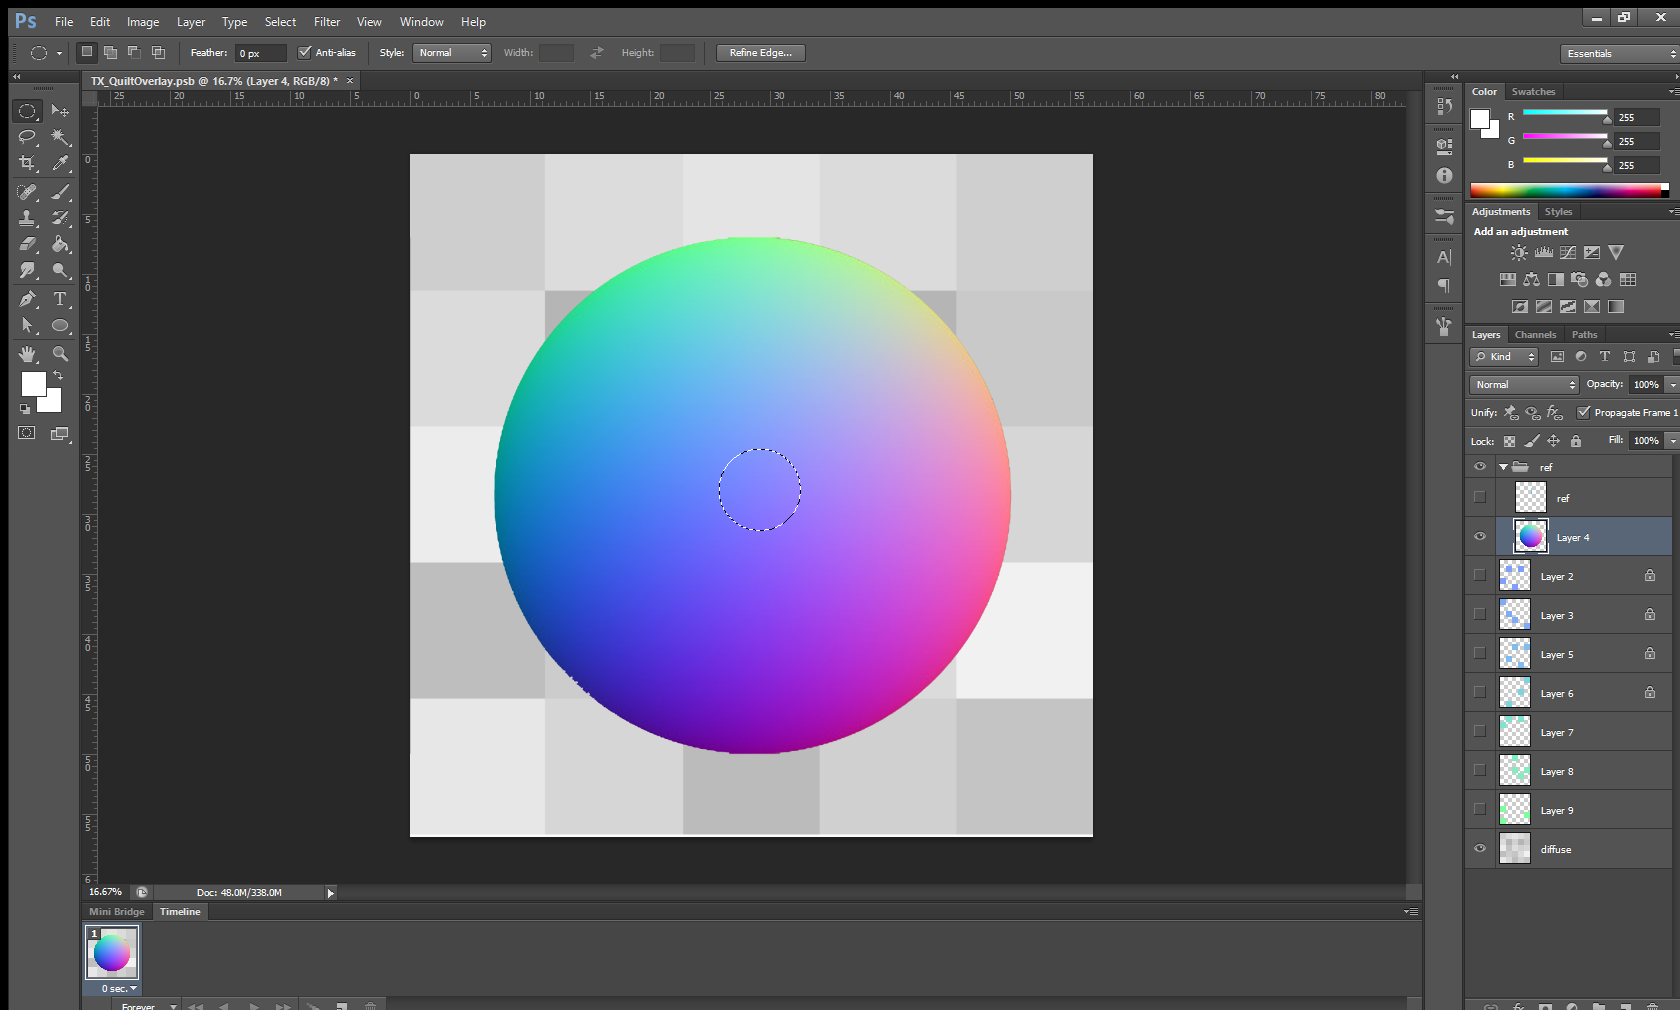
I took a normal sphere texture, brought it into Photoshop, and kept it as a reference. In the image above, I’ve isolated the center of the sphere because I only want samples of the forward-facing colors. (The surface of calm water is variations of forward-facing angles).
I selected and painted each background square a different color, and I continued this process until I ended up with a nice variety of colors and a complete normal map.
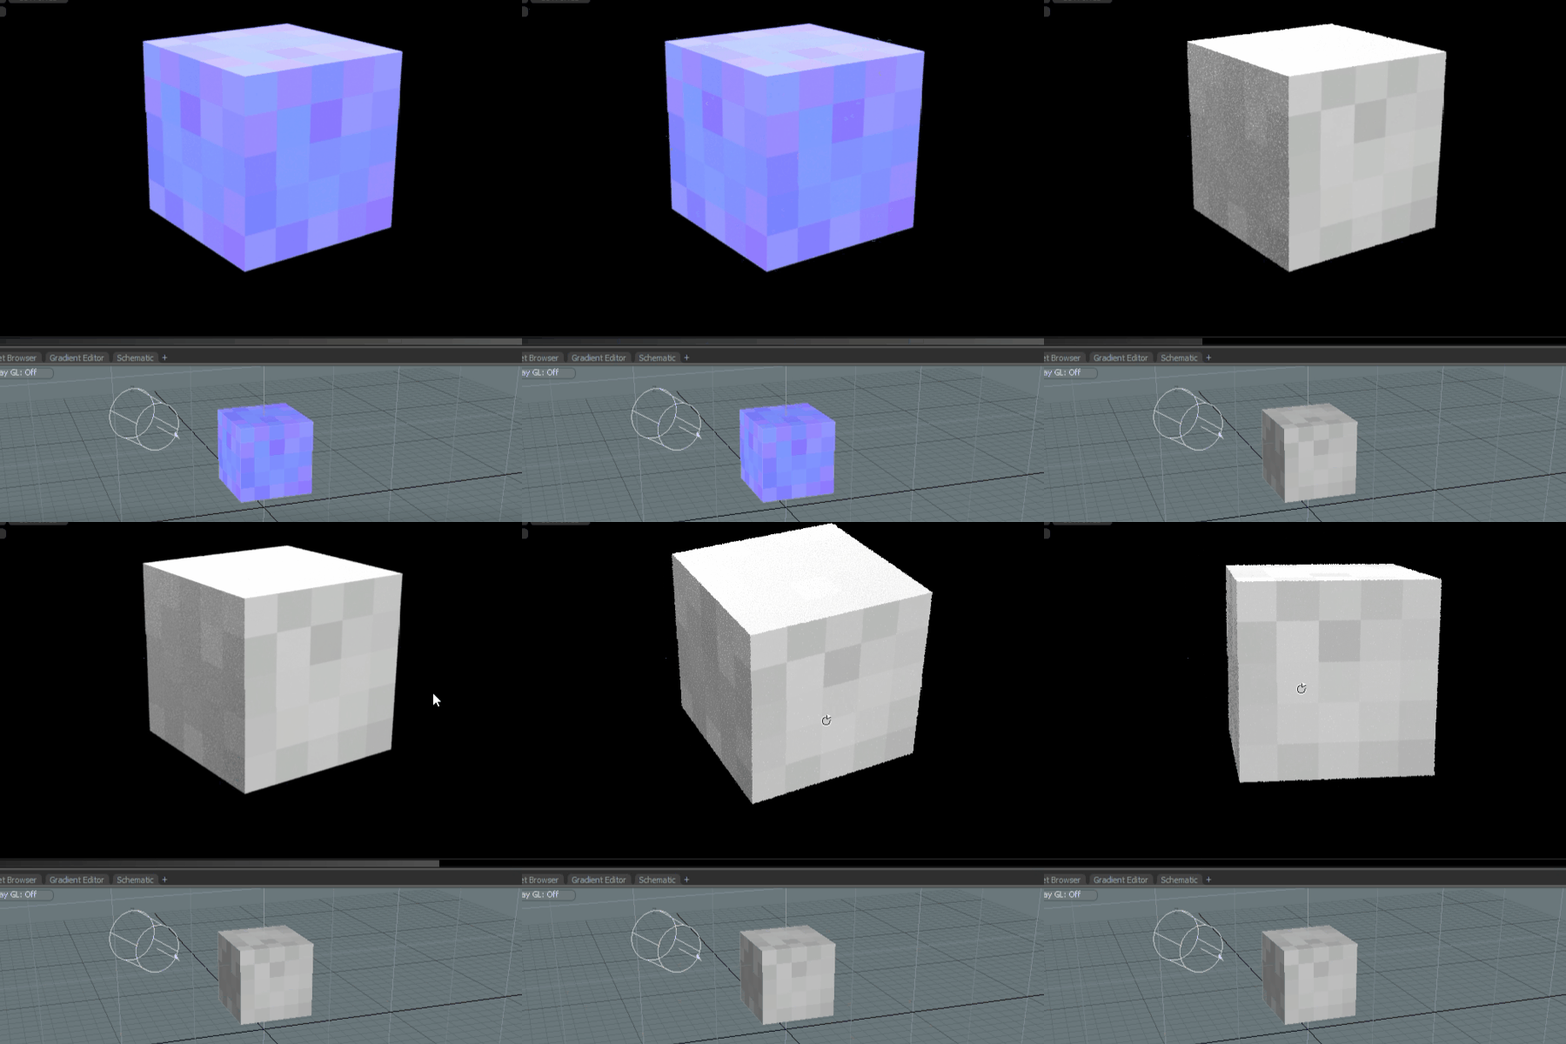

I brought the normal map into Modo to test it out. On a simple cube mesh, I applied a new material and set the normal map as the normal input.
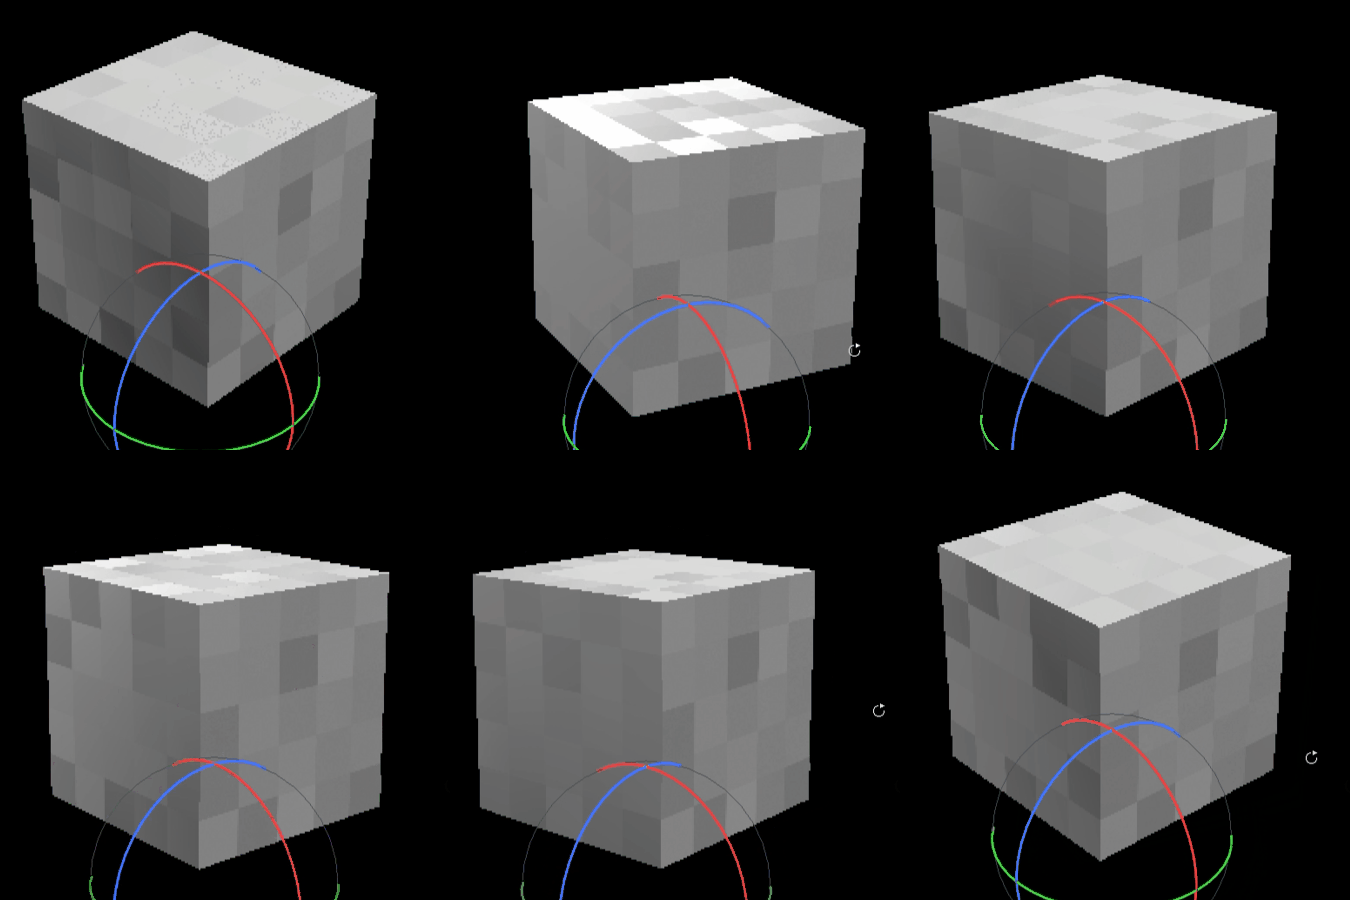

And here we are, a cube that has only six polygons, each with twenty-five squares facing different directions. Something like this would be a lot harder to try to replicate with actually modeled or sculpted detail.
For even more in-depth instructions check out the tutorial by Nick Lewis on Artstation’s Youtube page.


Nick Lewis: Hand-painting Normal Maps – Demo Cat


